
How to Collect and Store Lavender Seeds for Spring Planting: Complete Professional Guide
Gardeners find the process of seed collection from lavender plants to be both rewarding and challenging. Many gardeners choose to propagate lavender through cuttings for reliable results yet learning seed collection methods allows growers to develop special varieties while preserving plant diversity and achieving complete lavender independence. The guide provides detailed instructions to convert seed collection into successful plant growth during springtime.
Understanding Lavender Seed Production
The process of growing lavender seeds requires a basic understanding of seed production methods which form the basis of successful cultivation. The success of seed collection depends on knowing how lavender produces seeds that can grow into new plants. Lavender plants need cross-pollination to reproduce which demands particular environmental conditions for seed development. The success of seed collection depends on selecting lavender varieties that produce seeds because not all lavender species produce seeds.
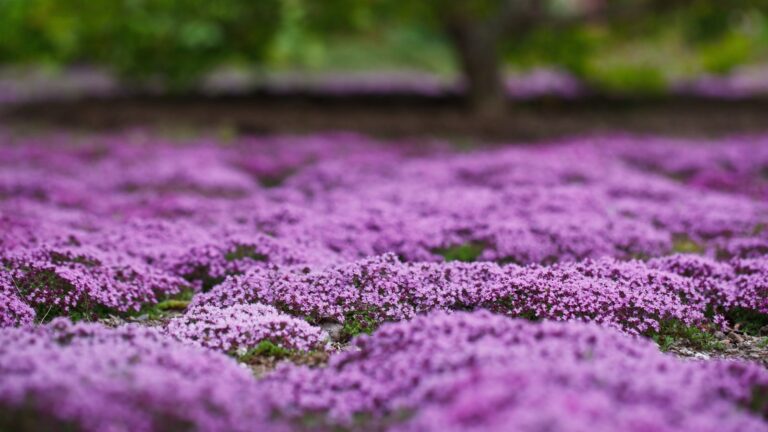
The English lavender species (Lavandula angustifolia) produces seeds that germinate successfully and open-pollinated cultivars such as ‘Munstead’ ‘Hidcote’ and ‘Royal Purple’ demonstrate high germination success. The varieties produce flowers from June to August followed by seed pods that need 6-8 weeks to reach maturity. The seed viability of French lavender (Lavandula dentata) and Spanish lavender (Lavandula stoechas) is low while hybrid lavandins (Lavandula x intermedia) produce seeds that remain non-viable through any seed collection technique.
Seed production quality heavily relies on environmental conditions. Plants that receive 6-8 hours of direct sunlight each day and grow in well-draining soil with a pH range of 6.5-7.5 will produce the best seeds.
Seed viability decreases by 40-60% when seeds experience stress from drought conditions or excessive humidity or nutrient deficiency. The quality of seeds depends on optimal growing conditions during flowering so proper plant care throughout the entire growing season is vital for successful seed collection.

Optimal Timing: When Precision Meets Nature’s Schedule
The collection of lavender seeds depends heavily on timing because seed maturity and viability exist only during a specific 7-10 day period. Professional growers monitor flower development because seeds become non-viable when picked too early yet waiting too long results in seed dispersal that prevents collection.
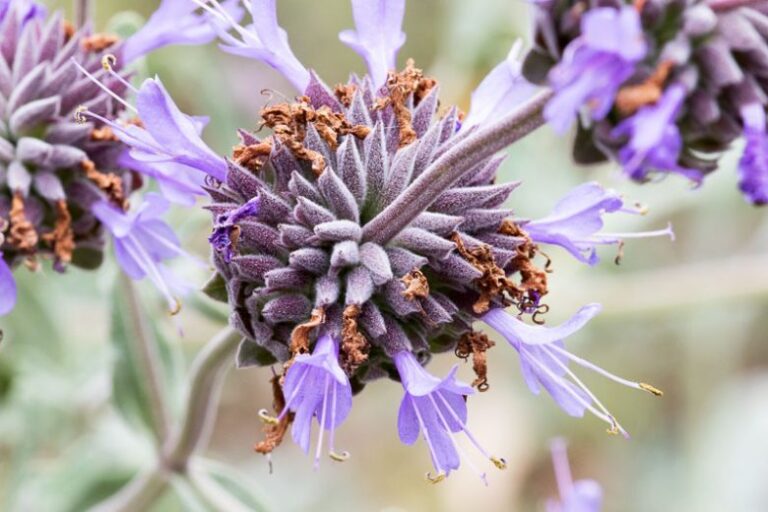
The best time to collect flowers starts when they change color from purple to brown-gray which happens 6-8 weeks after their peak blooming period. Seed pods located at the base of spent flowers become brittle and papery, easily cracking when gently pressed. The definitive maturity test requires you to touch individual flower spikes because mature seeds will easily detach when touched which shows the optimal time for harvesting.
The collection operations schedule depends on climate conditions. Seed maturity in USDA zones 5-7 takes place during the period from late August through early September. Seed readiness in Mediterranean climates happens in mid-July but seed collection for northern regions with cooler climates extends from July to October. The drying process in humid coastal regions needs special attention because moisture leads to seed drop before time and mold growth during the drying phase.
The best time to water plants occurs during the morning hours after dew has dried up but before the hot afternoon sun becomes active.
The seeds should be dried at this stage to prevent moisture-related storage problems while keeping them securely fastened to the flower stalks. The storage of seeds should be avoided during rainy weather and when humidity levels reach 70% or higher because high moisture affects their ability to survive long-term.
Professional Collection Techniques: Maximizing Seed Yield and Quality
The process of professional lavender seed collection follows specific methods which achieve high yields while preserving the genetic integrity of the seeds. The process starts with selecting donor plants that are healthy and display the desired traits of strong growth patterns and vibrant colors and robust fragrances.
Equipment Preparation
The team needs to prepare clean dry collection containers which should include paper bags and fine mesh screens and shallow trays. The first collection should avoid plastic containers because they create moisture traps which lead to mold growth. All equipment needs sterilization through a diluted bleach solution at 1:10 ratio before it becomes ready for use.
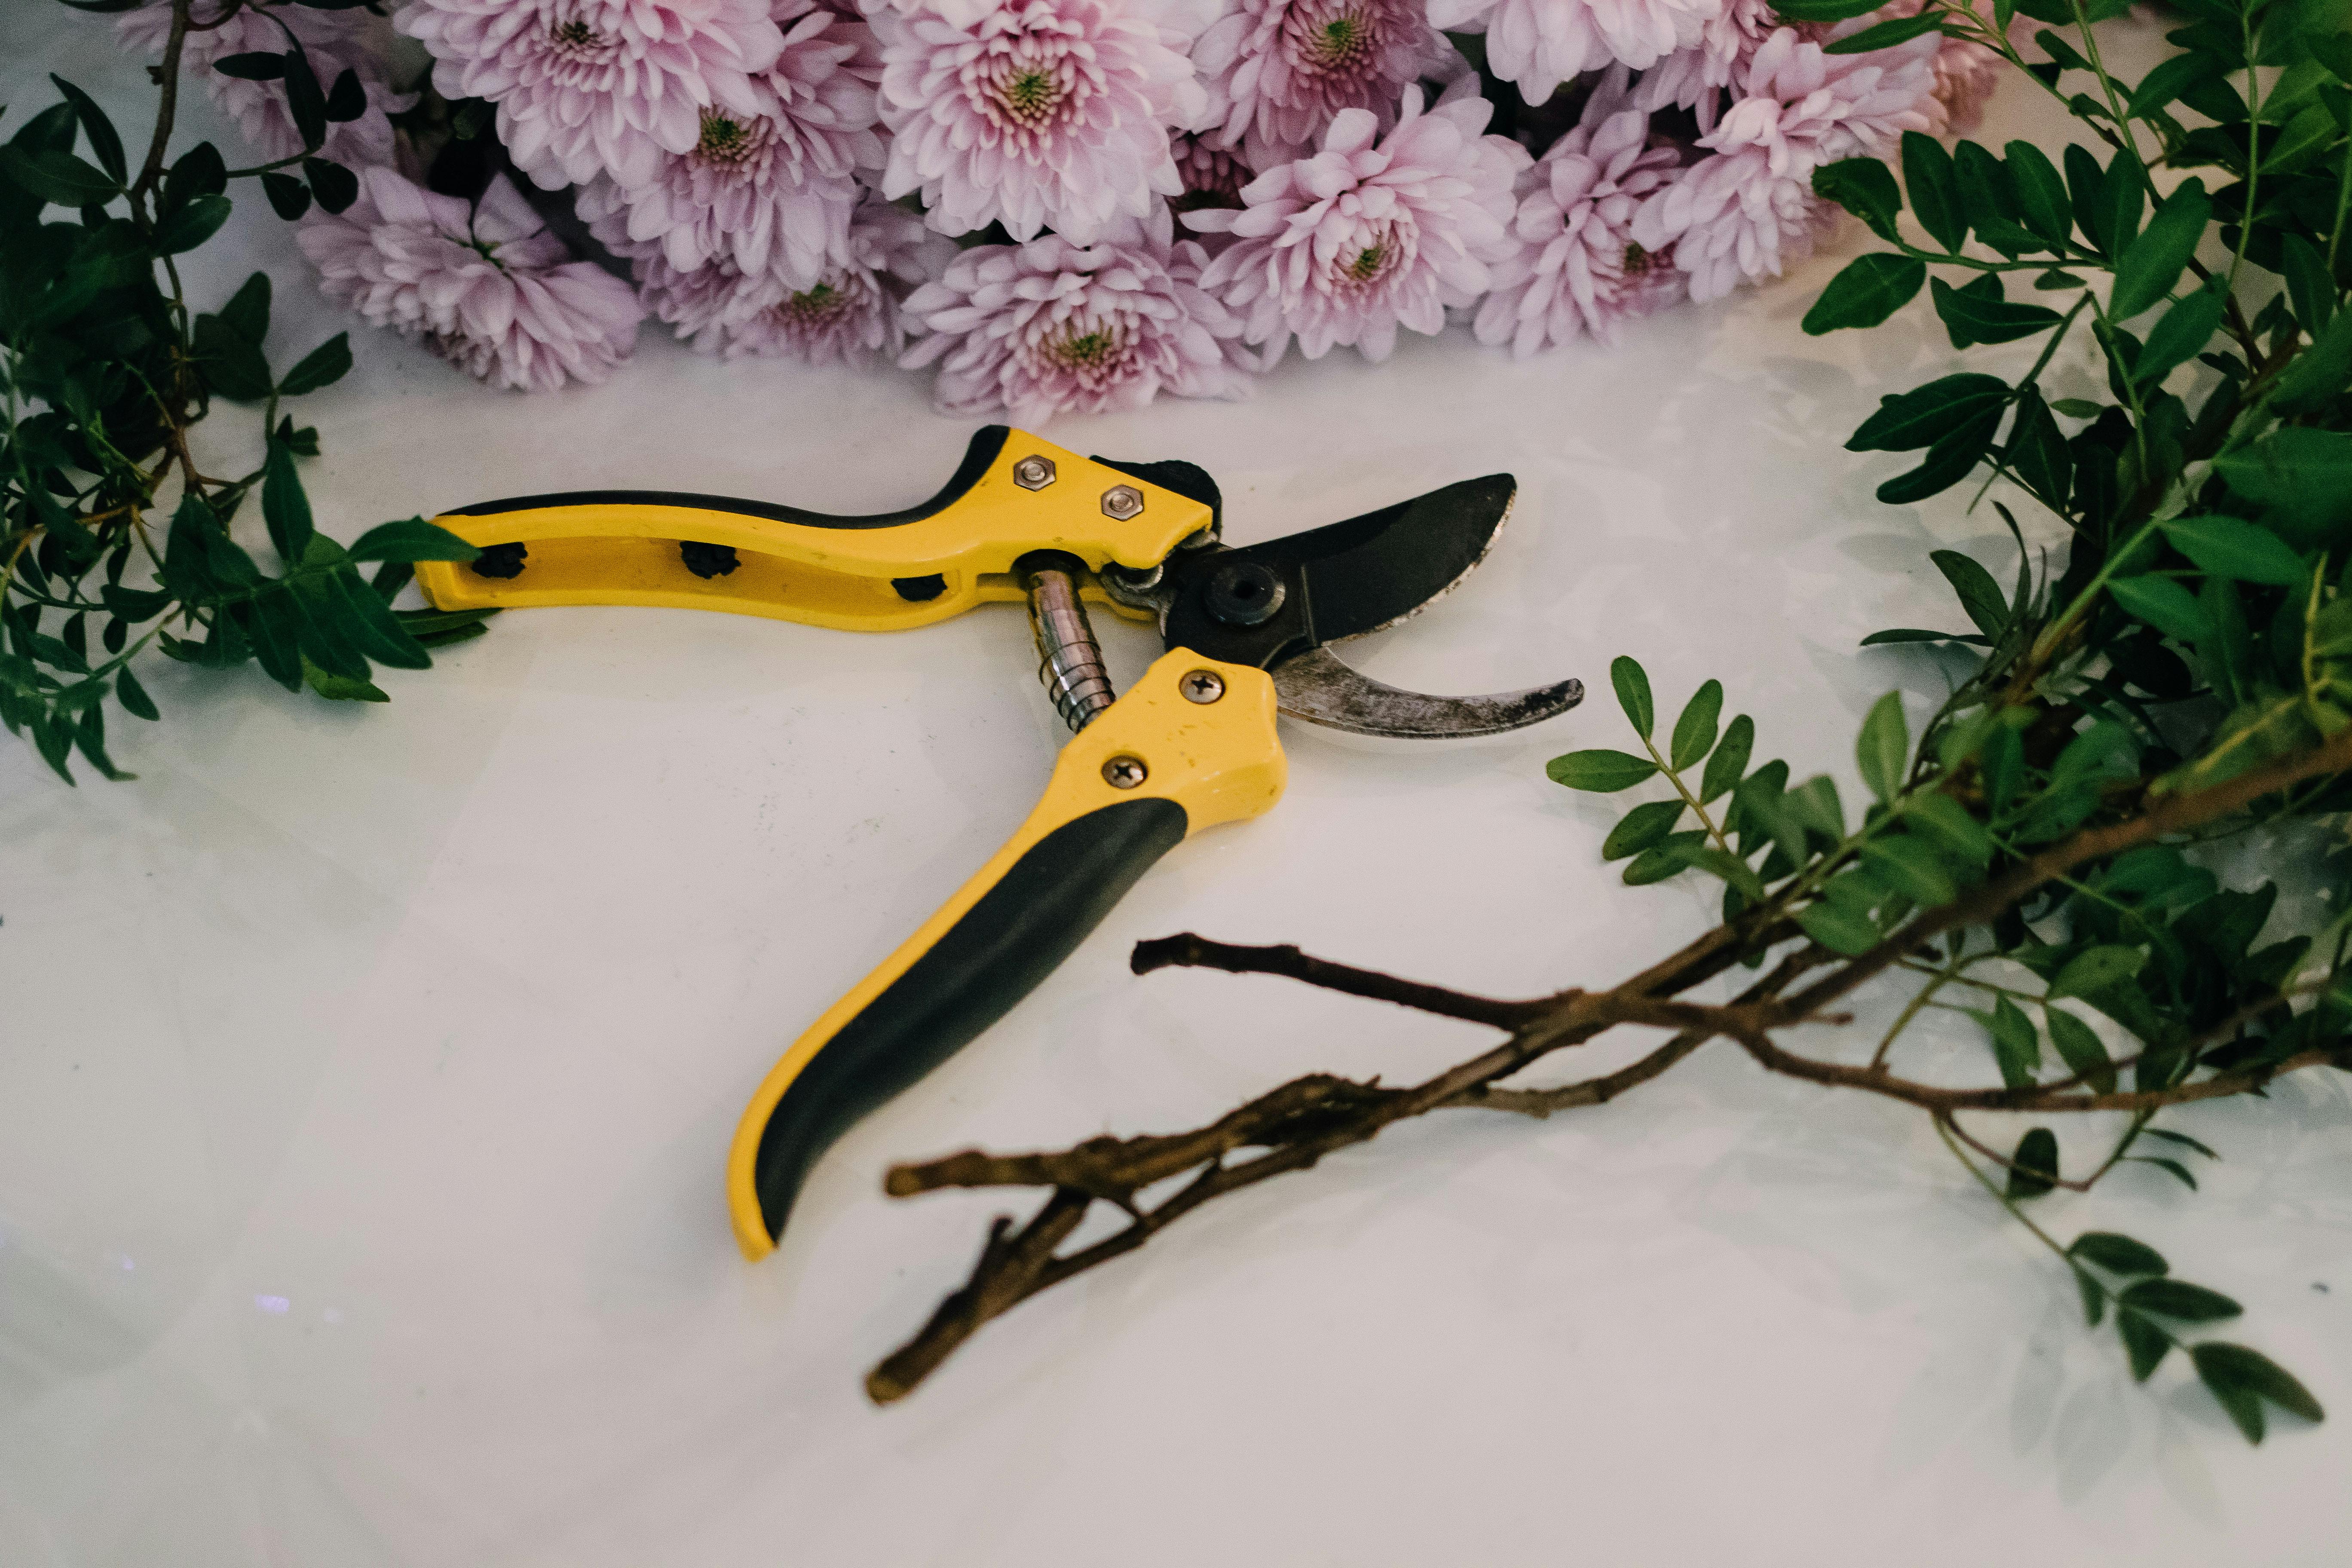
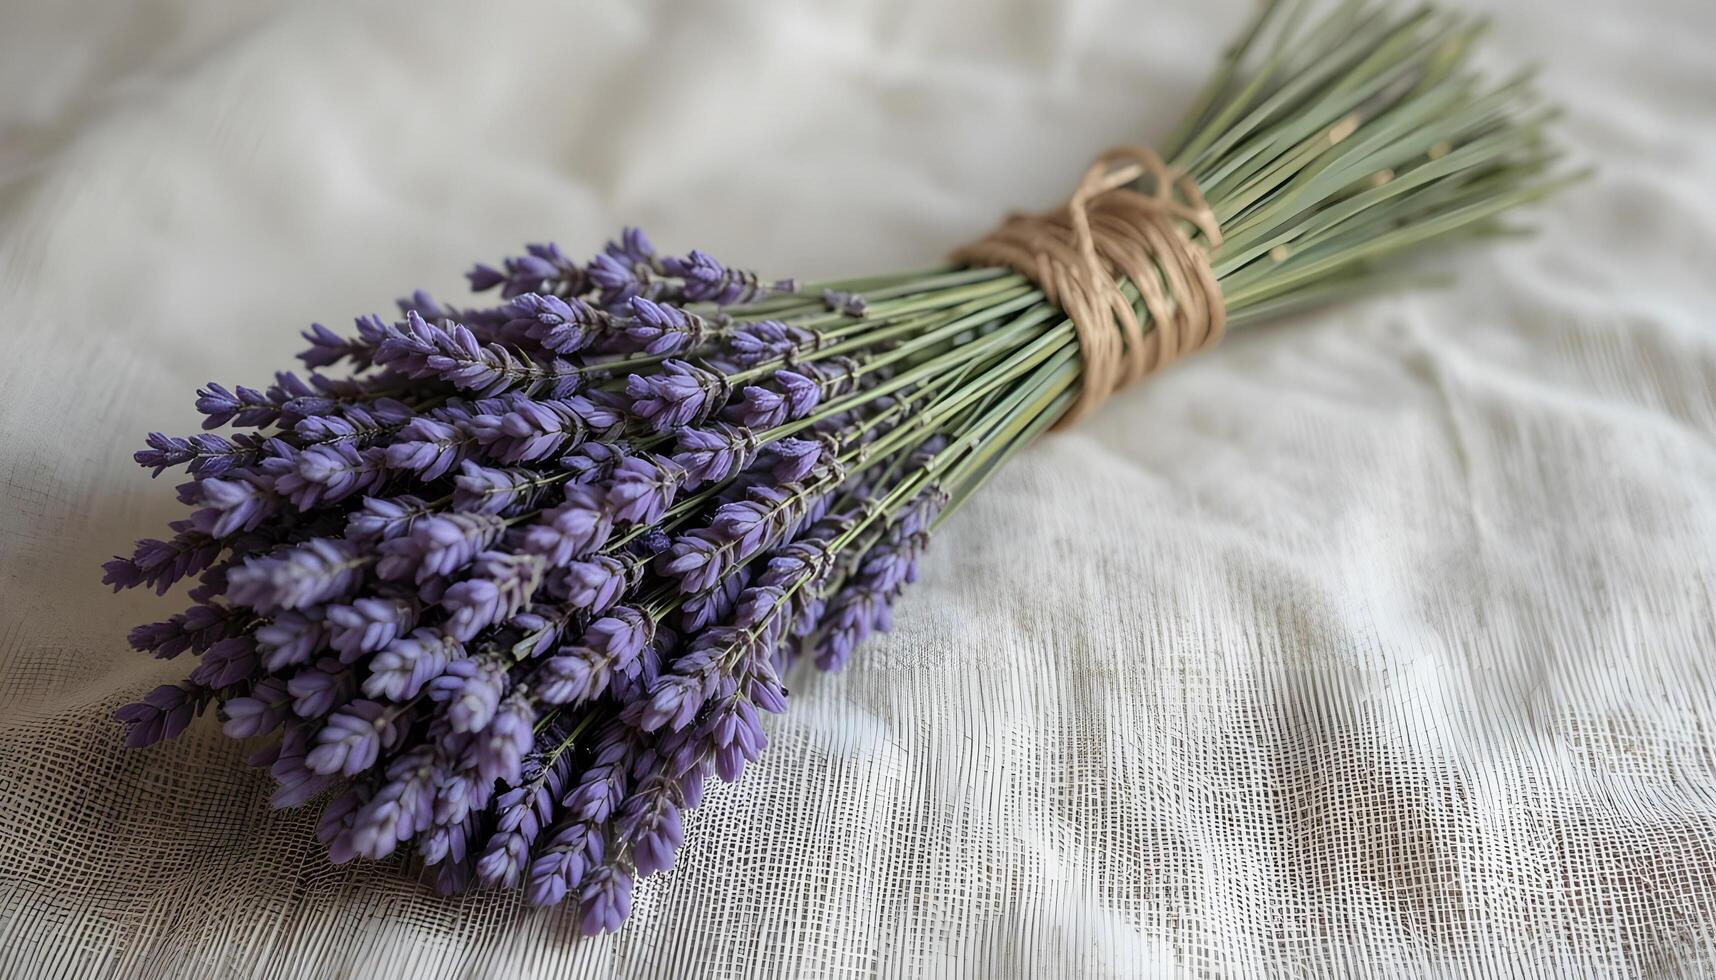
Use sharp clean pruning shears to cut flower stalks at 6-8 inches below the lowest seed pods for selective harvesting. Choose stems that have 70-80% of their flowers fully developed while making sure to exclude both green and excessively dry plant material. Place cut stems right away into paper bags while writing down the variety name and collection date and exact location details.
Seed Extraction Methods
Professional growers use two main extraction methods.
The Rolling Method requires users to place dried flower heads between their gloved hands before they roll these heads through fine mesh screens which rest above collection trays. The method performs seed release and big particle removal simultaneously to achieve 85-90% cleaning performance in a single operation.
The Shaking Technique demands that dried flower spikes need to go into big paper bags for seed extraction through gentle bag movements and rolling motions. The seeds will naturally release from the bags after 5-7 days of drying inside the bags with no need for manual seed removal. The method produces the best results when processing extensive datasets.
The extracted seeds require magnification for quality assessment to eliminate seeds that show insect damage or discoloration or incomplete development.
The seeds have a dark brown to black color with a length of 1-2mm and their outer shell remains intact and firm. The color of immature seeds is pale white while damaged seeds display cracks and holes and mold growth.
Advanced Drying and Cleaning Protocols
The method used for drying and cleaning items determines their shelf life and seed germination potential. Seed drying under professional protocols requires controlled environments to decrease moisture content at a safe rate until it reaches the optimal range of 8-12% without affecting seed viability.
The extracted seeds require placement in single layers on absorbent paper towels or fine mesh screens for the initial drying process. The storage area needs to maintain temperatures between 60-70°F while keeping relative humidity levels under 50%. Use fans at low speed to create soft air movement that should not blow directly on the seeds. The first stage of the process needs 3 to 5 days based on environmental factors.
The deep drying process requires placing partially dried seeds into paper envelopes or breathable cotton bags which need to be stored in controlled spaces with temperatures ranging from 45-55°F and humidity levels between 35-40%. Commercial seed drying operations require specialized rooms for drying seeds but home growers can replicate this process by using refrigerator drawers with desiccant packets.
Multi-Stage Cleaning Process
The cleaning process requires multiple stages after drying to reach complete purity. Begin with 2mm mesh screening to remove large debris before switching to 1mm mesh for fine screening to extract small impurities. Winnowing is a process that involves blowing air across seeds to separate the light chaff and empty seed hulls from the heavier seeds.
The last quality control process requires seed inspection under 10x magnification to remove defective seeds from the cleaned seed batch.
Mechanical seed cleaners with air separation systems are used in professional operations to clean seeds but manual inspection provides better quality results for small-batch seed collections. The cleaning process will result in 10-15% of materials being lost while high-quality materials will generate less waste.
Storage Optimization: Professional-Grade Preservation Methods
Seed storage success for long periods requires establishing perfect environmental factors which protect dormancy and stop seed degradation. The three main factors that threaten seed longevity receive protection through professional storage methods which control heat and moisture and block light exposure.
Container Selection and Environmental Control
The selection of containers should include breathable primary packaging materials including paper envelopes and cotton muslin bags and seed storage papers. The materials function to exchange moisture while blocking condensation from occurring. The first step requires placing primary containers inside sealed secondary containers which include glass jars with tight-fitting lids and heavy-duty plastic containers with rubber gaskets.
Environmental Control requires storage temperatures between 32-41°F while maintaining relative humidity levels below 40%. Professional seed banks store lavender seeds at 0°F with moisture content below 8%, achieving 10+ year viability. Home gardeners should store seeds in specific refrigerator compartments or basement areas instead of freezers because freezer temperatures will harm seed cellular structures.
Store fresh silica gel packets or molecular sieve desiccants in sealed containers for desiccant management because they require replacement every 6-12 months.
The amount of desiccant needed for storage depends on container size because 5-10 grams of desiccant should be used for every quart of storage space. The desiccant should be monitored for color changes that indicate moisture levels because it needs to be replaced when it becomes saturated.
Documentation and Tracking Systems
The storage documentation system requires complete documentation of all stored items through detailed records that include variety name and collection date and cleaning methods and moisture content test results and storage environment details. The seed lot number tracking system in professional operations allows for controlled viability tests and inventory management through rotation.
Viability Testing and Germination Optimization
Professional seed collectors perform seed viability tests to check storage quality and predict seed germination success. Multiple testing methods enable complete viability assessments which help determine storage methods and planting approaches.
Testing Methods and Protocols
The Paper Towel Germination Test requires 50-100 seeds to be placed between moist paper towels which should be kept at 70°F temperatures with proper moisture levels. The number of seeds that germinate between 14 to 21 days will help determine their viability rate. The germination rate of fresh lavender seeds reaches 70-85% but stored seeds experience a gradual decrease in their ability to germinate.
Professional laboratories use tetrazolium chloride solutions to test seed viability through red staining of living seed tissue which delivers results within 24-48 hours. The method enables precise germination potential prediction without needing to conduct complete germination tests.
The seeds of Lavender plants need 30-45 days of cold stratification to successfully break their dormant state.
The controlled stratification method enables professional growers to reach 80-90% seed germination success while untreated seeds only achieve 20-30% germination. Seed germination occurs at its highest rate when stratification temperatures range from 35-40°F and moisture levels stay between 60-70%.

Pre-Planting Seed Treatment
The seeds need to soak in room temperature water for 12-24 hours before planting to start their metabolic processes. Growers apply 1:10 hydrogen peroxide solutions for 30 minutes to both disinfect seeds on the surface and to improve oxygen delivery during seed germination.
Climate-Specific Timing Charts and Regional Considerations
The collection and storage methods require particular protocols for each climate zone because they need to adapt to the unique growing conditions and seasonal patterns of each area. Professional growers use specific techniques which match their local conditions to achieve the best results in their different growing areas.
Mediterranean Climates (Zones 9-10)
Mediterranean Climates experience hot dry summers and gentle winters which result in seed maturity between mid-July and early August. The collection process needs to happen in dry conditions while protecting the plants from heat damage. Store seeds in an environment with 45-50% humidity because this range helps protect them from excessive dryness.
Continental Climates (Zones 5-7)
The climate zones from 5 to 7 have continental characteristics which bring cold winter months and hot summer seasons. Seed collection happens during late August and September because of the long drying time needed because of high humidity levels. The storage process needs advanced moisture control systems and longer stratification periods ranging from 45 to 60 days to support genetic adaptation.
The coastal areas with their moderate climate and high humidity create specific difficulties when it comes to seed collection and storage. The longer drying period of 2-3 weeks in coastal areas prevents mold growth. The storage process needs special desiccant control because of the existing moisture in the environment.
Mountain and High-Altitude Regions experience delayed seed maturity because of their cooler temperatures and shorter growing seasons which extend the time to seed maturity by 2-4 weeks compared to lower elevation areas.
The collection timing adjustments take into account the new frost dates and the decreased number of growing degree days. Storage protocols operate at consistent cool temperatures which remain stable through all seasons.
Troubleshooting Common Collection Challenges

Seed collection and storage operations present challenges to growers at every level of experience. The use of professional troubleshooting methods for systematic problem-solving enables seed viability maintenance and successful collection results.
Premature Seed Drop Issues
The seed drop occurs prematurely because of environmental stress factors and insect attacks and wrong planting times. Seed development needs continuous water supply because drought stress causes seeds to release prematurely. Monitor for aphids and other pests that damage developing seed pods. The collection time needs adjustment according to weather conditions because it should happen before storms arrive.
Mold Development Prevention
Mold Development During Storage: Results from inadequate drying or excessive moisture in storage environments. Users can check dryness levels with digital moisture meters to extend drying time. Check the desiccants for replacement more often and make sure the storage containers have proper seals. Mix food-grade diatomaceous earth with seeds to make a mixture which will absorb any remaining moisture.
The main reason for low seed germination success rates stems from inadequate seed stratification and poor storage environments and the use of unviable seeds.
The duration of stratification periods needs to be lengthened to 45-60 days for lots which face challenges. The storage conditions need to be evaluated through the use of recording thermometers and hygrometers. The organization needs to develop improved procedures for determining data collection timing and assessment of data quality.
Pest Management in Storage
Seed storage pests will destroy collections completely within a short period of weeks. The process of seed preservation requires freezing seeds at 0°F for 72 hours to eliminate eggs and larvae before long-term storage. Include natural pest deterrents such as dried bay leaves or neem leaves in storage containers. Check stored seeds once per month during their first year to detect any signs of webbing or frass or seed damage.
Advanced Techniques for Maximizing Seed Yield
The collection of seeds in professional operations depends on advanced methods which enhance efficiency while protecting genetic purity. The protection methods are most effective for safeguarding unique plant species and limited plant collections.
Selective Breeding Programs
The process of selective breeding for seed production requires the creation of specific seed production beds that contain plants which demonstrate exceptional seed-setting abilities. Remove 20-30% of flowers to let them finish seed development before harvesting the rest for both seed collection and decorative purposes. This approach concentrates plant energy on seed production while maintaining plant health.
The controlled pollination method requires using fine brushes to manually pollinate particular flowers which helps preserve genetic purity and results in maximum seed production. The use of mesh bags for isolating varieties serves to stop cross-pollination when you want to preserve the purity of your varieties. Document the parentage and collection information for breeding programs.
The sequential collection method requires seed collection throughout the entire maturity period to achieve maximum yields because it aligns with seed development times.
Process collections separately to determine the best time for particular growing conditions and plant varieties.
Large-Scale Harvesting Equipment
The equipment used for large-scale harvesting requires modifications to accommodate the particular growth patterns of lavender plants. The combine operator needs to set machine parameters which defend seeds from harm while maximizing grain collection efficiency. Test equipment settings on small batches before full-scale harvesting.
Long-Term Storage Strategies for Maximum Viability
The practice of professional seed storage requires more than basic preservation methods because it uses organized techniques which enable seeds to remain viable for 5-10 years or more. The strategies play a vital role in supporting both product variety collections and commercial operations that need to keep their product supply levels steady.
Inventory Management Systems
The inventory system requires first-in-first-out rotation rules to use the oldest seeds first while tracking seed viability with precision. Check stored seeds once per year while making changes to storage conditions according to the results of viability tests. Remove seeds that have started to show reduced germination performance before they reach complete sterility.
Seed collections should be distributed across multiple storage sites to prevent complete loss from equipment breakdowns and natural disasters and unexpected incidents. Every site requires its own dedicated environmental control system to achieve and sustain perfect conditions throughout the day.
The storage process needs regular viability checks through seed tests which occur every six months during the first year before shifting to yearly assessments in following years.
Standardized testing protocols should be used to achieve consistent results while detecting storage problems which lead to complete viability loss.
Ultra-Long-Term Preservation
The storage of seeds at -112°F through liquid nitrogen provides two options for long-term preservation and rare variety protection. Major seed banks employ this method to preserve seeds for extended periods of decades but it needs advanced equipment and trained personnel for operation.
Spring Planting Preparation and Germination Success
The process of moving stored seeds to spring planting needs thorough preparation alongside proper environmental management for quick and consistent seed germination. Professional growers execute established procedures which lead to the highest possible success rates for seedling establishment.
Pre-Planting Seed Preparation
Seed treatment occurs before planting when seeds need to be removed from cold storage 2-3 weeks before planting to allow them to adjust to room temperature. Multiple representative samples need to undergo the final viability assessment to confirm their germination success. Treat seeds with mild fungicide solutions to prevent damping-off diseases during germination.
Seeds that did not receive stratification need to undergo the full cold treatment duration in controlled conditions. The storage duration needs to be between 30 to 45 days at 35 to 40 degrees Fahrenheit with controlled moisture levels to check seed sprouting which indicates the end of dormancy.
Germination Environment Setup
The setup of germination requires seed-starting media that is sterile and has good drainage properties and pH levels between 6.5-7.0. The soil temperature needs to stay between 70-75°F throughout the germination period when installing heating systems. Use full-spectrum LED fixtures to provide 16-18 hours of supplemental lighting which should be placed 6-12 inches above seed trays.
Plant lavender seeds directly on the soil surface then use a light touch to press them into the ground without covering them.
Apply a thin layer of vermiculite or fine sand to protect the soil from drying out while keeping the area lighted. Plant seeds 1-2 inches apart from each other to prevent seed competition and make transplanting easier.
Seedling Care and Hardening
The soil needs to stay moist after seed germination but should not get too wet because lavender seedlings are prone to develop damping-off diseases. Stem strength and fungal prevention can be achieved through good air circulation which can be enhanced by using low-speed fans. Start hardening off seedlings 4 to 6 weeks after they germinate by exposing them to outdoor conditions in a stepwise manner.
The detailed method of lavender seed collection and storage development creates a dependable system which produces uniform results from what could have been a difficult process. Gardeners who use professional methods and keep precise records will achieve seed-to-plant success rates above 80% when establishing sustainable lavender propagation systems that generate plants for multiple years.