Rocky Soil Transformation: 5 Proven Steps to Garden Paradise
What if I told you that barren, rock-filled soil can become a thriving plant paradise in just 90 days using proven techniques that cost 75% less than replacing your entire yard? After transforming my own rocky nightmare into a botanical wonderland, I’m revealing the exact blueprint that turned countless gardening failures into spectacular successes.
Have you grown weary of your plants growing in hard soil as your neighbors have fertile gardens? You’re not alone. This is how you can rectify it through established techniques that would otherwise cost you a lot of money through the services of a professional.
The Secret of the Rocky Soil That Revolutionizes everything
Rocky soil may turn out to be a mistake of up to 2,000 dollars when done improperly. Majority of individuals either stop or spend a fortune by replacing all the soil yet repairing the land is usually cheaper. It is important to view rocks as aid, not as an issue.
The conventional gardening dogma considers rocky soil as an issue to be swept away but such rocks provide good drainage, retain warmth and provide some form of stability on the ground when used wisely. Knowing when and how much soil to use and the correct plants to grow in rocks will mean having a garden that will not make the soil mad but join with it.
Step 1: Rock Management and Strategic Site Assessment

You must carefully look at a rock before you can decide what to do with it. There are three categories of rocky soil each with a specific plan requirement:
Type A: Surface Scatter (depth 1-6 inches rock)
Best for adding more soil. Use a rake and a wheelbarrow to remove the rocks to 8 inches. Approximately 2-3 cubic yards/100 sq ft. Price: free when you do it and 300-500 when you hire someone.
Type B: Dense Substrate (rocks 6-18 inches deep)
Combine deep planting with good soil. Construct elevated beds and then fill with soil. Plants of larger size should be placed in 12-18 inch deep pockets. Purchase 4-6 cubic yards of good soil to 100 square feet.
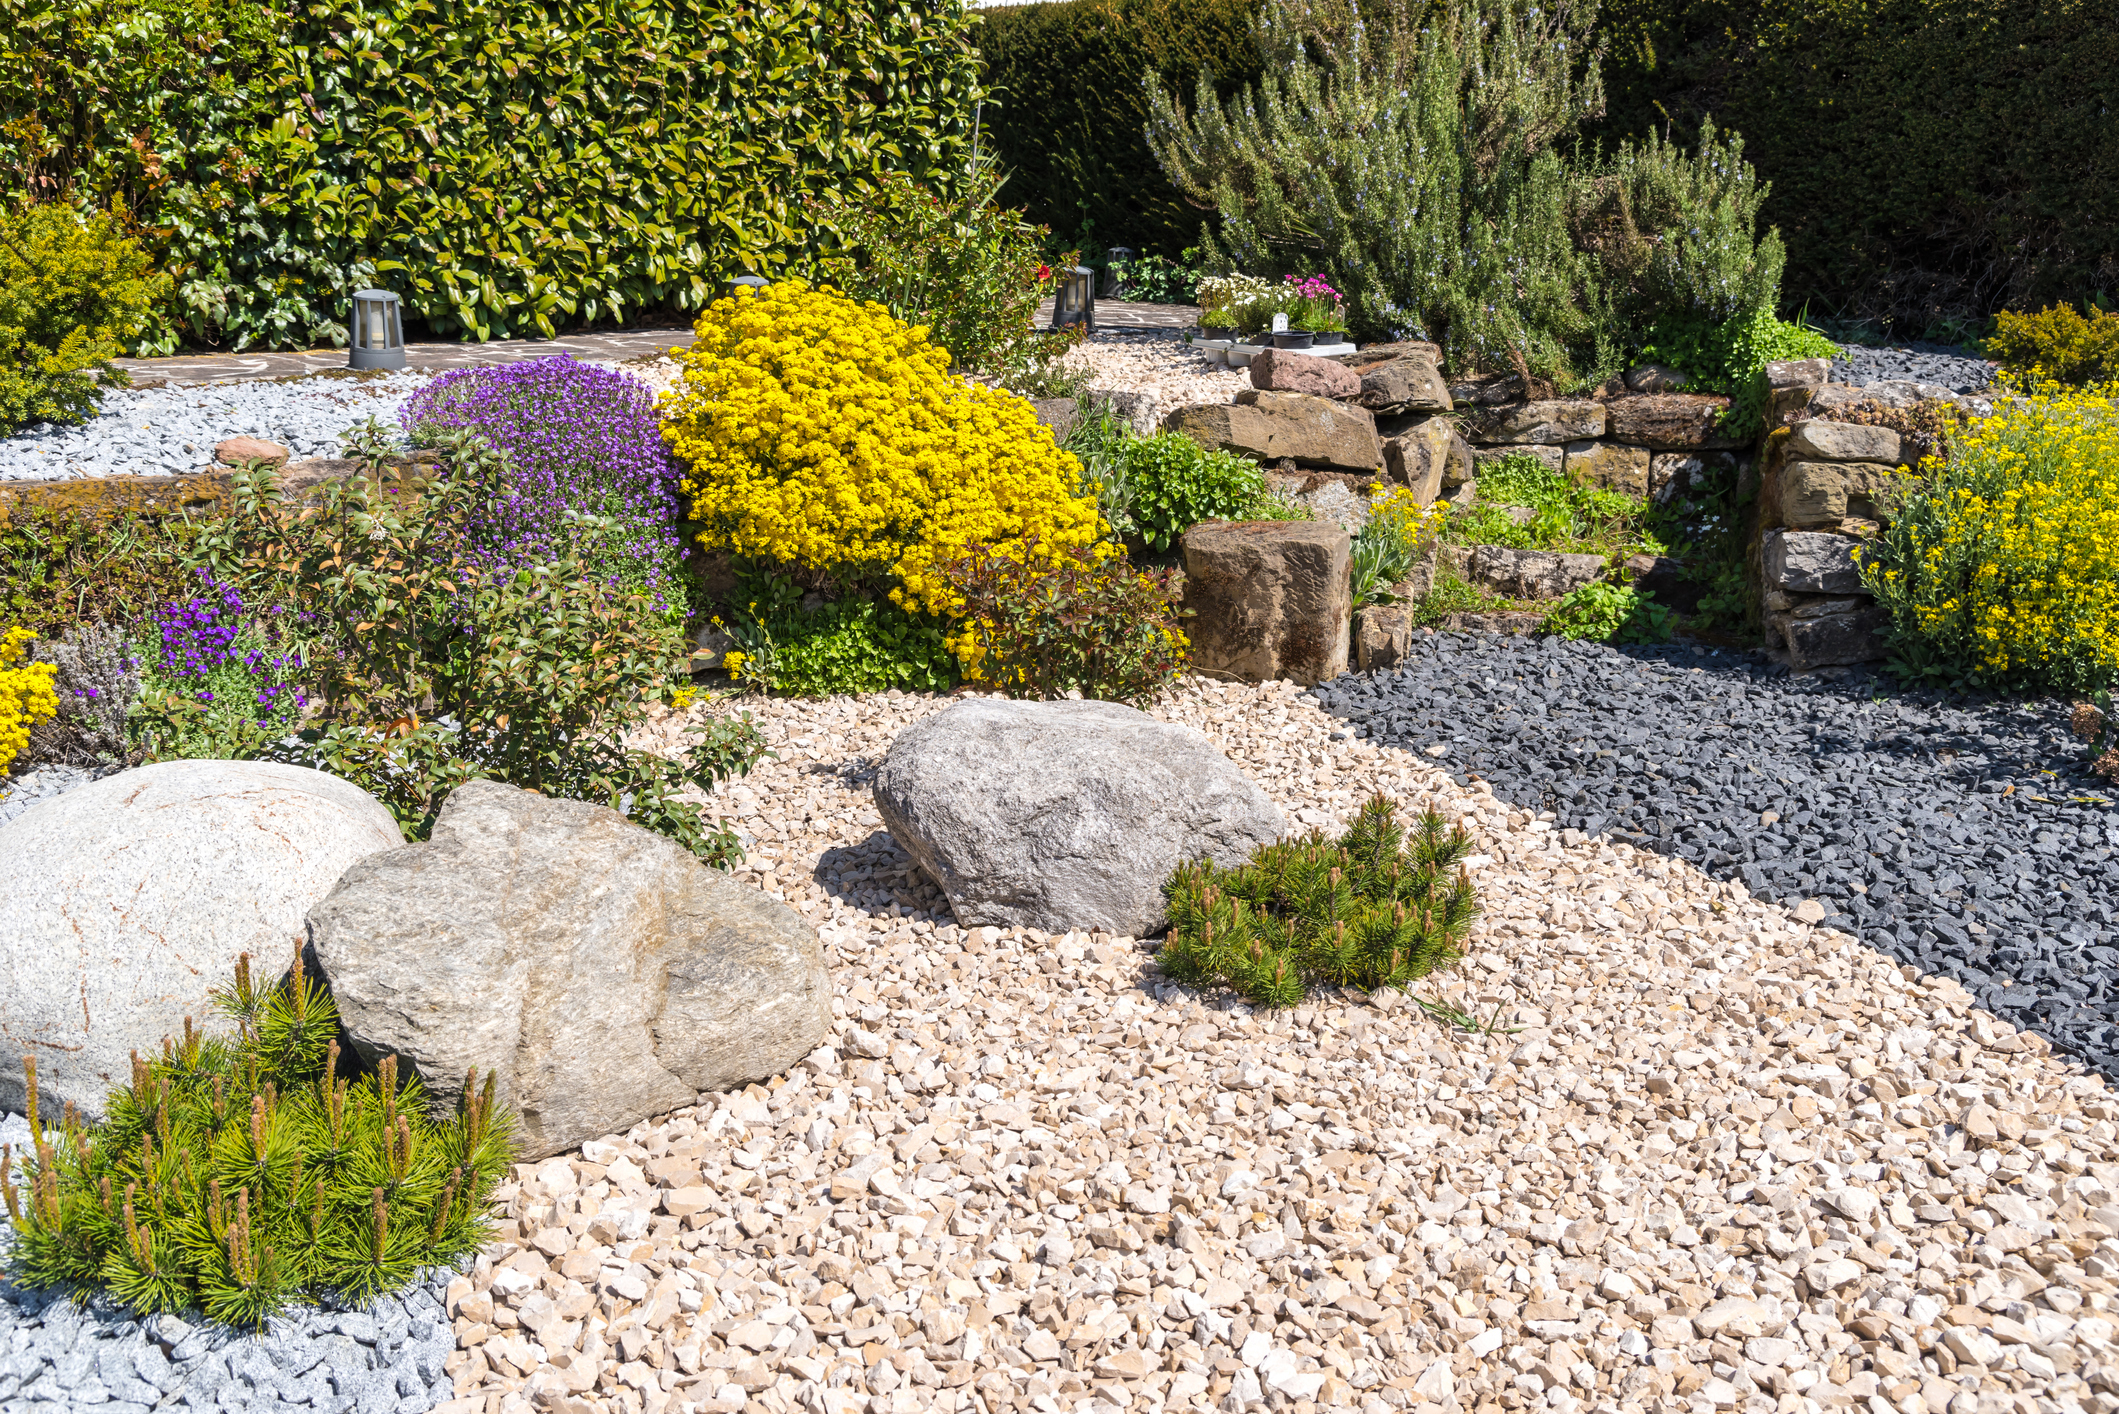
Type C: Bedrock Near Surface (rock in 6 inches of the earth surface)
Great for a rock garden style. Take the rocks and make pockets among them. Choose alpine or Mediterranean plants. Amendment required 1-2 cubic yards to the hundred square feet.
The size of the rock that the one can remove will be the difference between the duration of the job. Surface rocks can be removed with a 3 inch tined rake and embedded stones can be removed with a digging bar. A powerful wheel barrow that is pneumatic will save you strain during the 20-30 movements that you will make on 100 square feet.

Test in a jar: Half fill a quart jar with soil, pour in, shake, and leave alone 24 hours. The layers indicate the extent of sand, silt, and clay. Throughout the good garden soil, the percentage of sand is 40, silt is 40, clay is 20 and the pH is between 6.0 and 7.0 Clemson HGIC.
Step 2: Accuracy Soil Amendment of Explicit Ratios
It is all about the appropriate combination. It can be aggravated by generic add compost. Use these simple formulas:
In Clay-Dominant Soil
Combine 3 portions of topsoil, 2 portions of compost, 1 portion of coarse sand as well as volcanic ash 1/2. 100 square feet: add 5 lbs. of gypsum. Mix the mixture 12 inches with a rototiller or broadfork.
In Sand-Dominant soil
Mix topsoil, compost, aged manure, 2:2:1 and 1:2:1 respectively. Add peat moss, 1/2. Allow 3 pounds of rock phosphate to every 100 square feet. Concentrate on organic matter to get more water Oregon State Extension.
Budget for 100 square feet:
- Topsoil (4 cu yd): $240–$320
- Compost (2 cu yd): $120–$160
- Coarse sand (1 cu yd): $25–$35
- Gypsum/ash: $45–$60
- Total: $430–$575
Plant in the fall, to be mixed up in the winter. Or do it in the spring and retain the soil wet 6-8 weeks as plants establish Clemson HGIC.
Step 3: Rocky conditions Advanced Irrigation Systems

Rocky soil dries quicker and it may be heated, therefore the regular sprinklers do not cut them. A good drip system works best.
Drip Irrigation
Install 0.6 GPH emitters after every 12 inches in mature plants. Use 1.0 GPH during the adjustment of new plants. Place emitters 6 inches below the base to prevent rot of the crown. Cover with bury lines of 2-3 inches in order to shield against the sun and wind.
Create three areas of watering (according to rock density and type of plants):
- Heavy rock: water 20 per cent more frequently in brief spurts
- Sandy modified: with fewer but deeper corrections
- Clay-amended: take care not to waterlog
Intelligent controllers that have soil moisture sensors ensure that wastage of water is minimal. There are models such as a $89 rain-timer or a $229 smart controller that make the adjustment of watering according to the needs of the garden. They save 25-30% water and reduce water bills within a period of approximately 18 months USGS.
DIY drip system installation of 500 square feet of area is between 200 and 500 dollars. Installation will cost between 800 and 1,200. It is paid by the annual savings of using less water and the fewer replacements of plants.
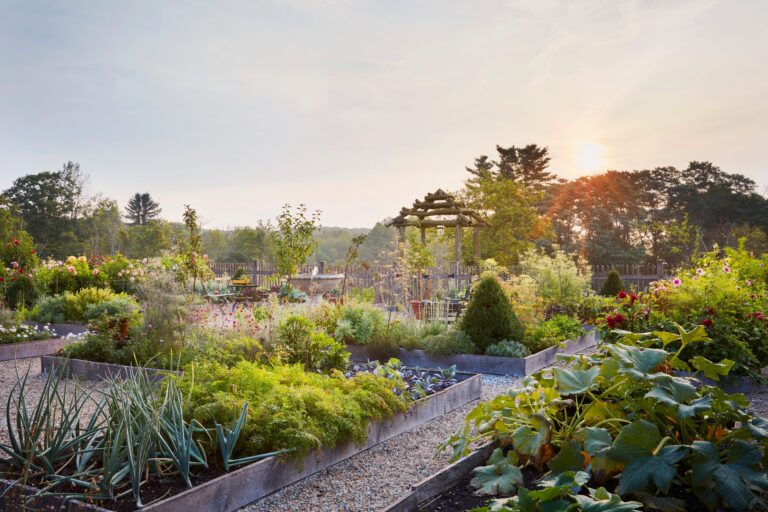
Step 4: Strategic Plant Choice and Location
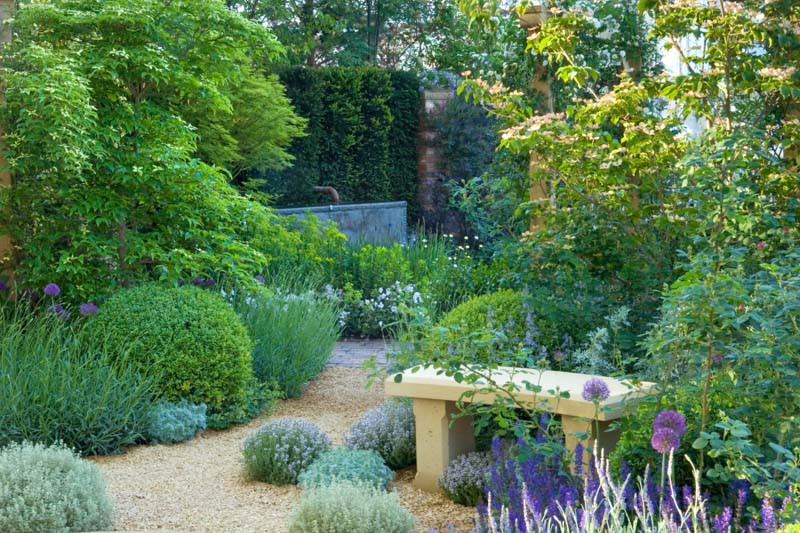
The failure of rocky gardens is due to the selection of the wrong plants. Rocks provide good drainage, heat retention, and pest resistance where the appropriate plants are implemented.
Planting Layers
Ground Covers:
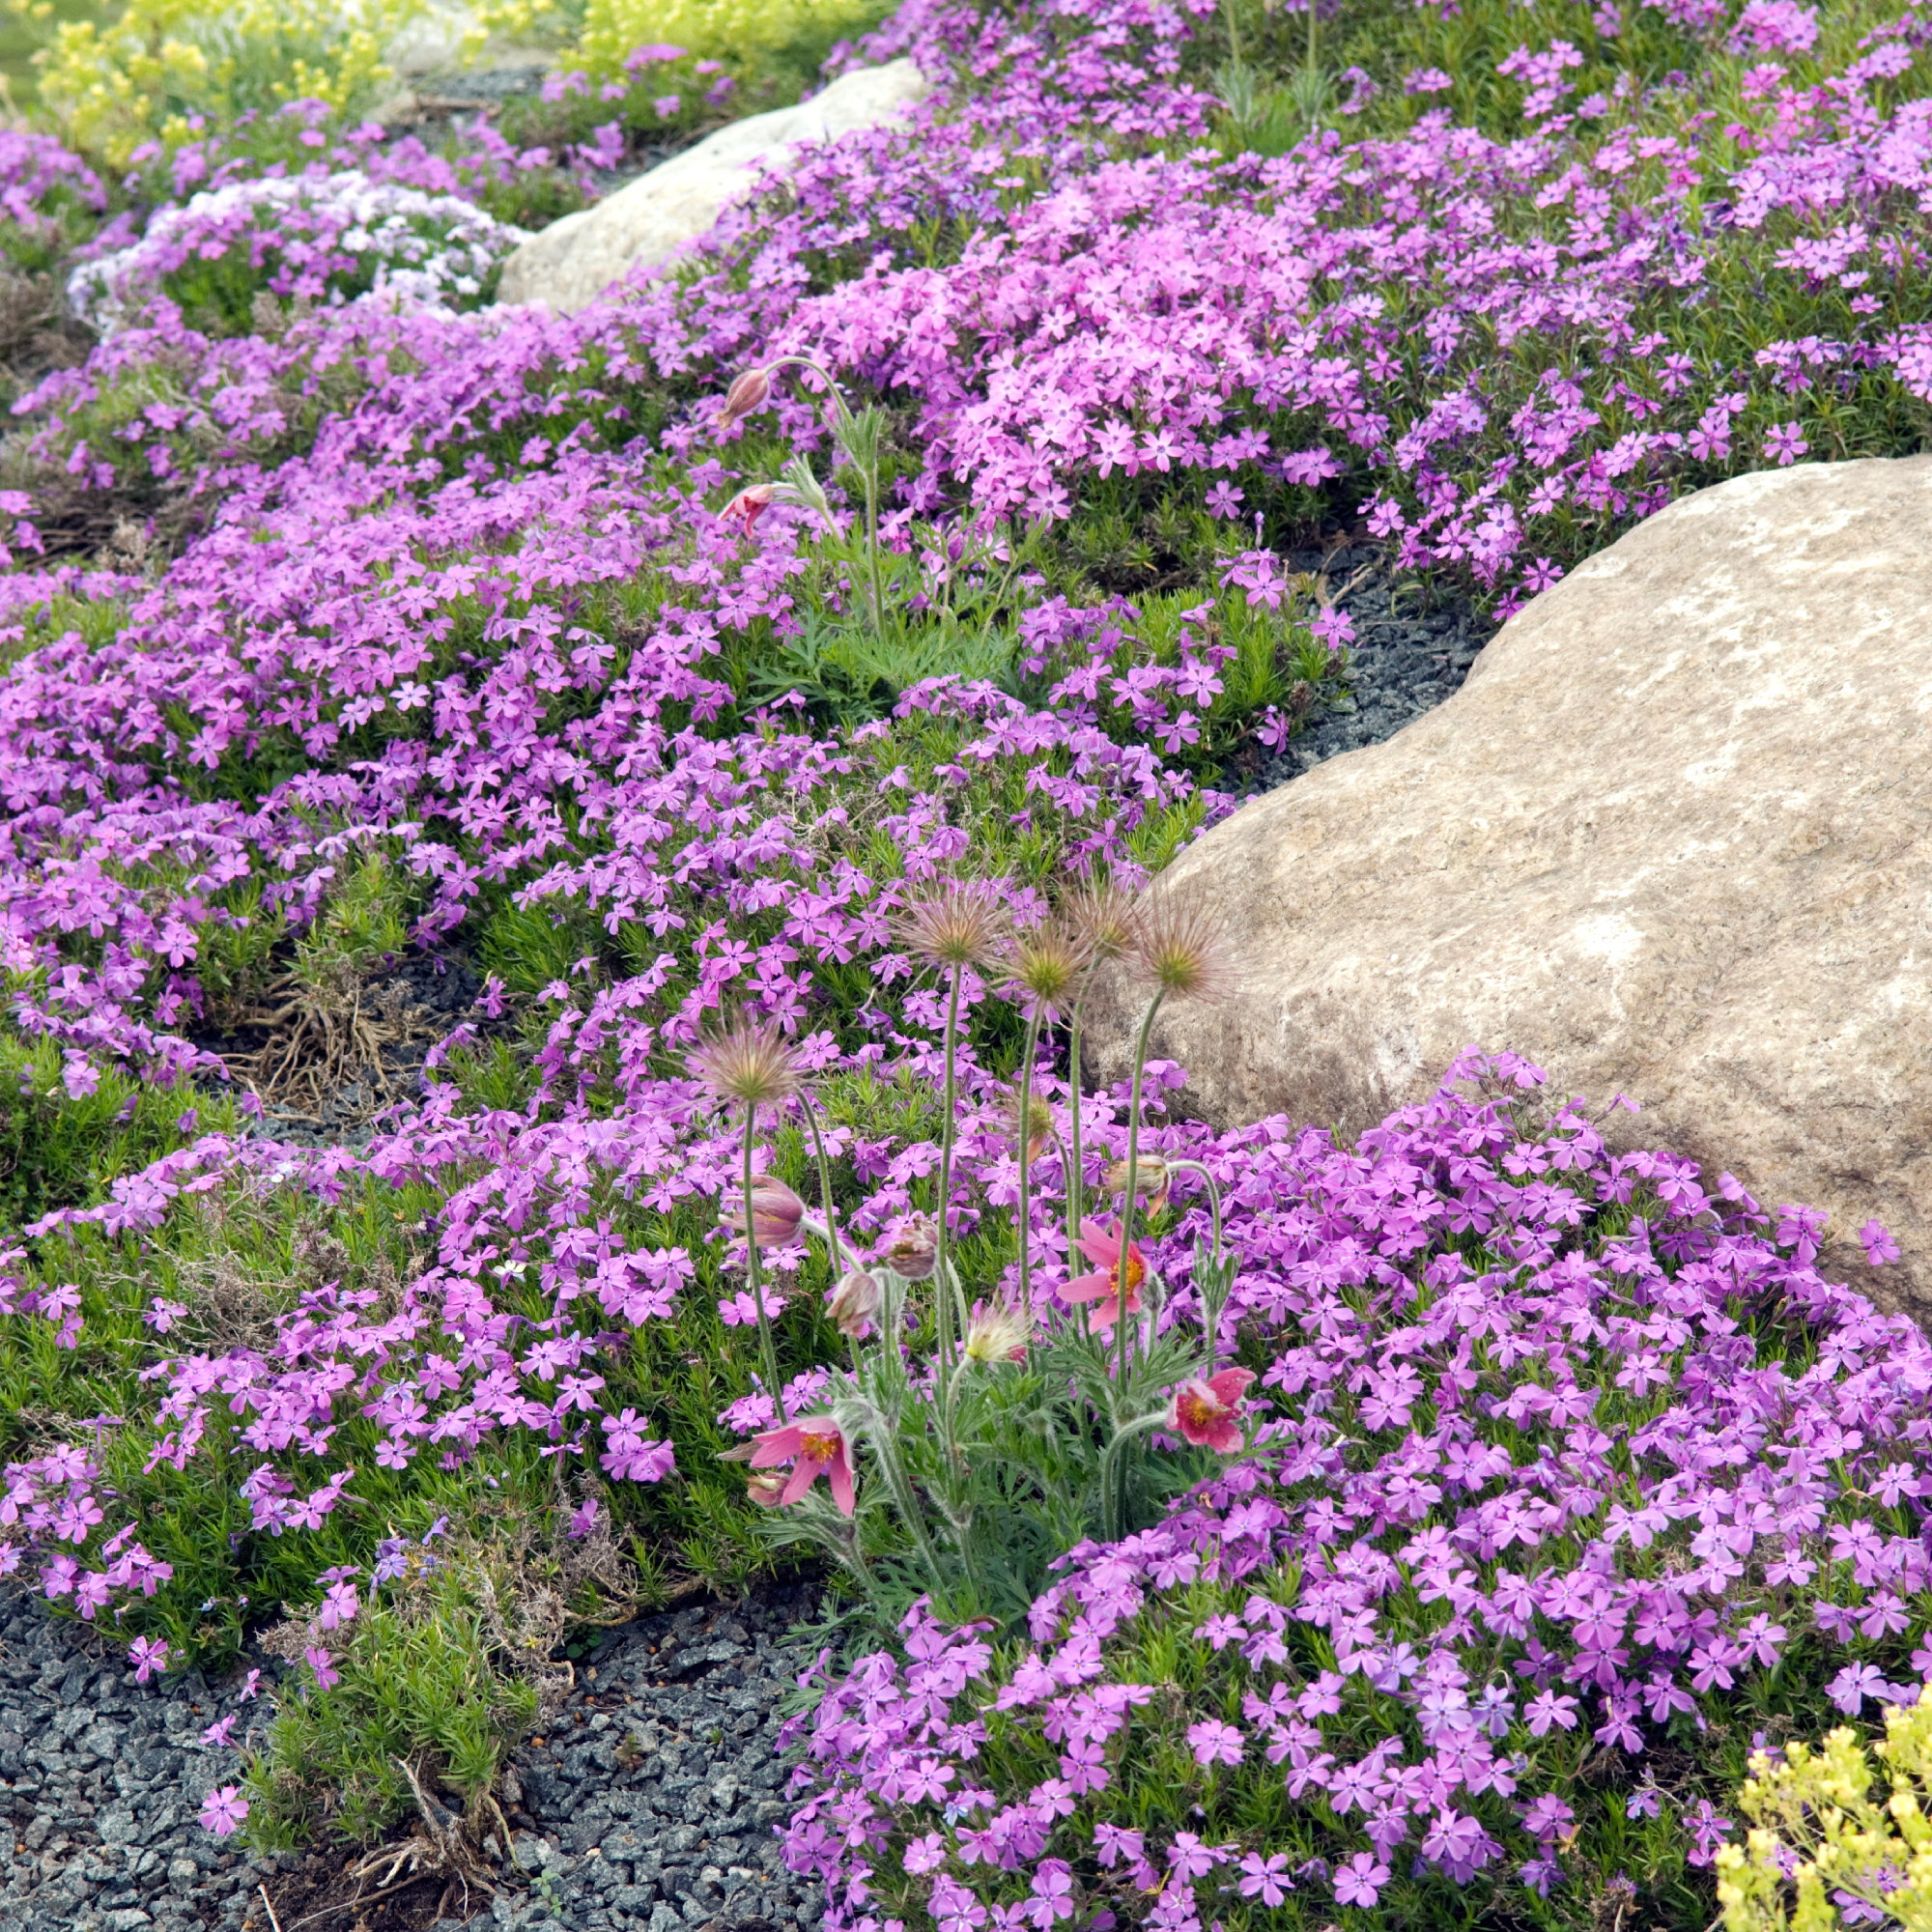
- Creeping thyme – does not need much water, fills empty spaces, draws pollinators
- Sedum – retains water, grows well in inadequate soil, and remains in look-good
- Woolly yarrow – the gray leaves reflect heat, are spreading out
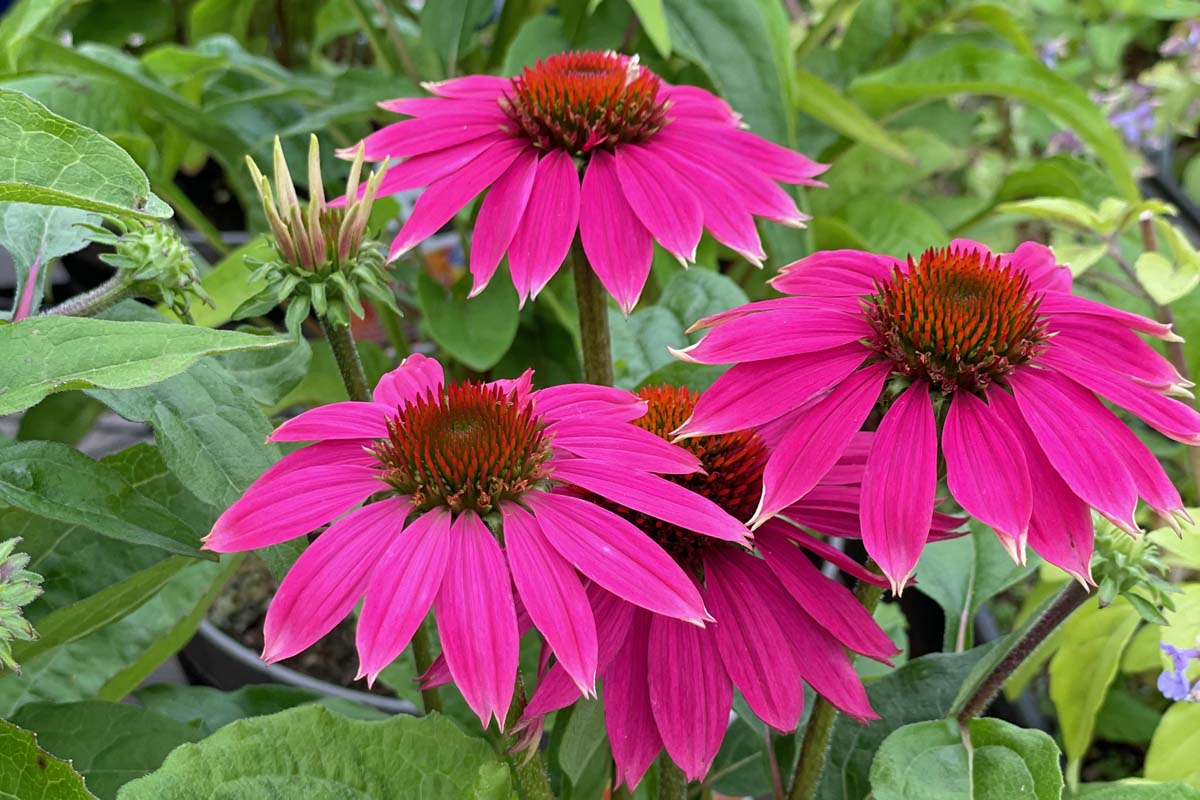
Perennials and Shrubs:
- Lavender – Mediterranean native, prefers alkaline soil
- Russian sage – deep rooted, supports heat
- Catmint – continually in flower, deer-resistant, drought tolerant
- Purple coneflower – native butterfly food, good in bad soil
:max_bytes(150000):strip_icc()/how-to-grow-russian-sage-1402795-hero-f437971649e4482e82badf89e598d723.jpg)
Trees and Large Shrubs:
:strip_icc()/101626090_preview-9fdea8b045444f419835d3e6bd014b6b.jpg)
- Hawthorn – deep taproot, does not dislike alkaline
- Juniper – perennial, heat-loving
- Serviceberry – local, seasonal, edible fruit
Planting in rocky soil: do not make deep holes, dig holes 1.5 times greater than the root ball. This allows the roots to expand horizontally and prevents sinking of the ground. Stuff it with your soil blend and elevate the crown 1-2 inches above the ground to avoid rot Davey Tree Expert.
Spacing Plants should be spaced to allow them to develop; 20 percent more spacing should be allowed to avoid root competition Missouri Botanical Garden.
Step 5: Maintenance and Optimization Long-term

Your garden is good when well maintained. A number of gardens begin falling off after 12-18 months when individuals become complacent.
Year One Schedule
Spring (Months 1-3):
Daily check of moisture. Apply half-strength organic fertilizer once in a month. Pull weeds early. Adjust watering with rain.
Summer (Months 4-6):
Water profoundly once in a week when the rainfall is less than 1 inch. Cut dead flowers. Look at the wilting or yellow leaves. Add a 2‑inch mulch layer.
Fall (Months 7-9):
Reduced frequency of watering due to descending temperatures. Use winter fertilizer, slow acting. Split overgrown perennials. Compost fallen leaves.
Winter (Months 10-12):
Wrap sensitive plants in tough areas in burlap. Plan next year’s plants. Frost Pretest irrigation. Order plants and seeds to be used in the spring.
Maintenance will reduce by half at year two compared to year one. Pay attention to pruning, test the soil on a regular basis, 2-3 years, and maintain the irrigation in a good condition. Plant replacement is at most 5%/year as compared to 15-20% in the past Gardening Know How.
Budget Summary
DIY (500 sq ft)
- Rock removal & preparation: $0-200 (hiring equipment)
- Soil amendments: $2,150–$2,875
- Irrigation: $300–$500
- Plants (50 at ~$8 each): $400
- Total DIY: $2,850–$3,975
Professional (500 sq ft)
- Full service: $4,500–$7,500
- High‑end irrigation: $1,200–$2,000
- Premium plants: $800–$1,200
- Total pro: $6,500–$10,700
Reduce spending by dividing work into 2-3 seasons, finding local stones, growing plants by cuttings or divisions, putting compost into the yard waste, and having irrigation installed during off-season when prices are on sale.
Fixing Up Problems with Rocky Soil
- Poor Drainage: When water remains longer than 4 hours following watering pour a mixture of sand and compost (1:1) over the top 6 inches or put in place a French drain.
- Too Many Weeds: Pre-emerging herbicide at the beginning of spring and 2-inch year-round mulch. Pull weeds before they seed.
- Plant Stress: Heat on rocks can be excessive, even when there is sufficient water. Temporarily add shade cloth (30 percent shade) during the hottest months and remove it when plants become stronger.
- Nutrient Deficiency: Yellowing leaves or bad blooms indicate to fine-tune fertilizer. Test soil every 18 months. Insert phosphorus and iron, where necessary.
- Slopes Erosion: Overlay jute nettings or coir mats on seeded soil and fasten them with stakes. Cover the soil with grow ground to prevent soil erosion.
It is a long process, and requires the correct action and the constant application of care, to turn a piece of rock into a successful garden. These are some of the easy tricks to follow and maintain the routine once the plants have settled and years later you will have a beautiful low-maintenance garden.
The fact that you have rocky soil is not an issue, it is both the base to a plant-based and strong garden.