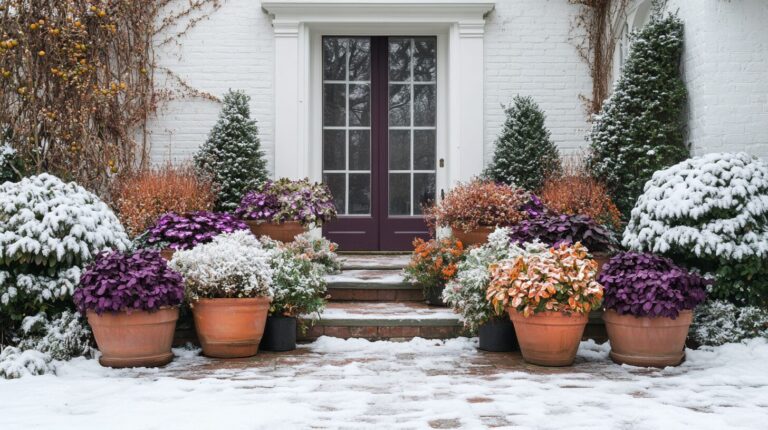
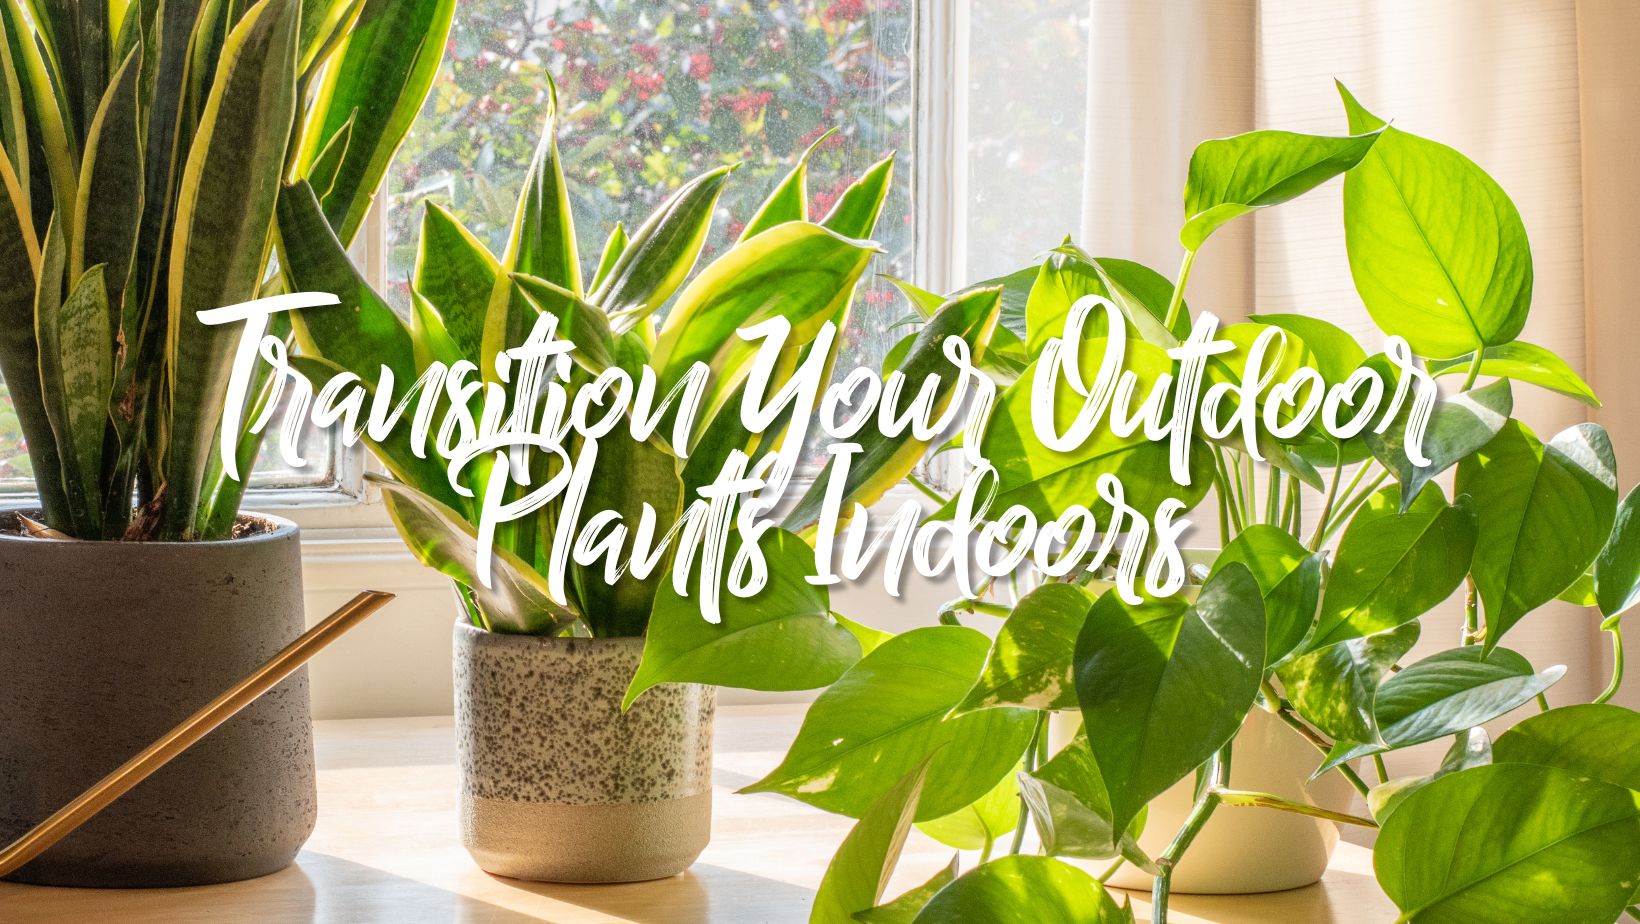
9 Expert Steps for Bringing Houseplants Indoors | Complete Guide
I have learned through fifteen years of moving plants between outdoor summer growth and indoor winter survival that the key to success involves more than standard advice but also requires attention to specific details which determine whether plants thrive or merely exist. The majority of guides present standard seven-step procedures yet the actual process proves to be much more intricate and produces better results when executed properly.
Houseplants experience their most difficult period when they transition from their outdoor environment to indoor spaces annually. The survival of houseplants during winter depends on understanding plant stress responses and implementing correct intervention methods according to Iowa State University Extension.
The Scientific Basis of Plant Transition Stress
The scientific basis of plant transition stress requires examination. The following section explains why this transition remains difficult to achieve. Plants that live outside develop thicker cuticles and wider leaves and deeper root systems to survive changing environmental conditions. These adaptations function as disadvantages when plants are brought inside.
The human body undergoes significant physical changes when light intensity decreases from outdoor 10,000-20,000 lux to indoor window areas with 500-2,000 lux. Photosynthesis rates decrease between 60-80% while transpiration maintains outdoor rates which leads to water stress in plants.
Plants develop stronger cell walls and better disease resistance through the normal temperature variations that occur between daytime and nighttime outside. Plants in indoor spaces lack the natural hardening process which makes them more vulnerable to disease-causing pathogens. The body system contains essential changes which explain why fast environmental changes fail but slow changes succeed.

The Critical Timing Window: When to Begin the Transition
The general advice is to move plants indoors when nighttime temperatures outside drop to 50°F (10°C). The explanation provides an accurate view but it fails to show the complete complexity of the timing calculation process. The temperature tolerance of philodendrons and monsteras from tropical regions reaches 55°F but succulents can survive short periods at 40°F. Plants in the Mediterranean region including citrus and olive trees need to be moved before temperatures reach 60°F because they become damaged at such low temperatures.
Begin tracking weather conditions when September starts. The initial cool weather period usually leads to a following warm period which arrives between 7 to 10 days later throughout various areas. Use this pattern to your advantage by beginning acclimation during the first cool period, then completing the transition during the subsequent warm stretch. The method enables plants to adapt fully before taking any action to prevent emergency situations.
A plant inventory system should be developed with plants sorted according to their sensitivity to cold temperatures. Group plants by their temperature tolerance and transition them accordingly. The strategic method enables plant relocation by focusing on the most critical plants first while avoiding the need to handle all plants at once.
Step 1: Implement Strategic Pest Detection and Elimination
The successful indoor transition depends heavily on pest management which most guides fail to address beyond basic inspection methods. The inspection process should begin with a three-phase system which starts inspection activities two weeks before the planned transition date.
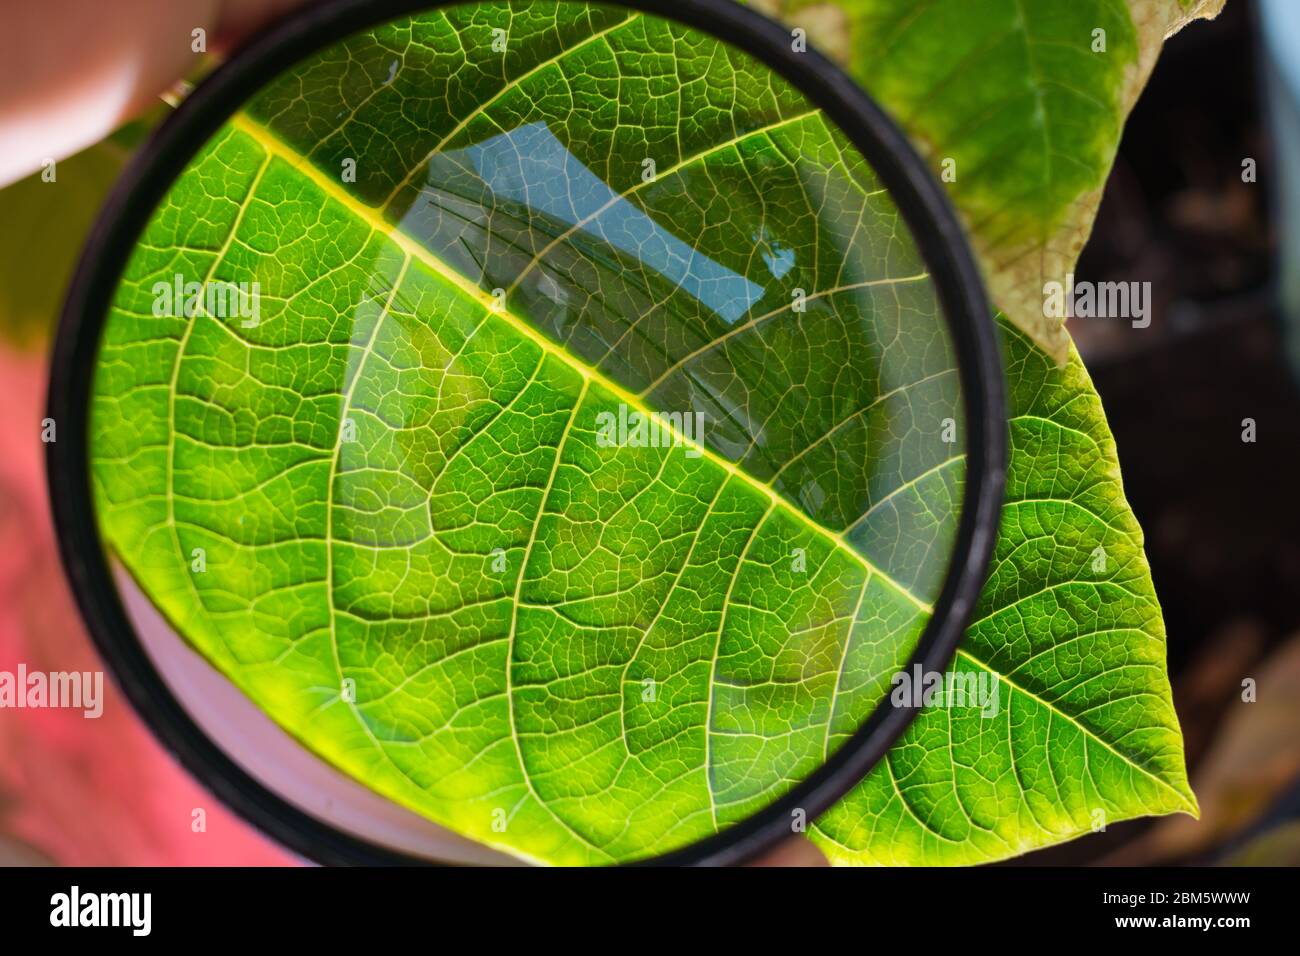
The first stage requires a complete visual examination which needs to be conducted under both natural illumination and artificial illumination. Plants should be placed in areas with bright shade during golden hour because sunlight at this time reveals pest signs such as webbing and honeydew that become hidden under direct sun. Examine leaf undersides and stem crevices and soil surfaces using a 10x magnifying glass. The treatment process requires documentation through photographic evidence which will serve as reference material for comparison.
The second stage employs detection methods which commercial greenhouses already employ. Yellow sticky cards placed on soil surfaces during nighttime hours attract fungus gnats and whiteflies and shore flies which get stuck to the cards thus showing the presence of infestations before any visible signs emerge.
Create alcohol detection swabs by mixing 70% isopropyl alcohol with a few drops of dish soap. Check for mealybugs by dabbing suspicious areas with your finger; if the cottony masses break down to show tiny insects you have a mealybug infestation.
The third stage of the program delivers specific pest control treatments which target particular pest species. Soft-bodied insects such as aphids and spider mites require a solution of one tablespoon of dish soap in one quart of water with vegetable oil added at one teaspoon for better coverage. Spray all parts of the plant including the soil surface before covering the pot with plastic wrap for twenty minutes. The soap breaks down protective coatings while the humid environment created by the mixture suffocates pests.
For scale insects and mealybugs, create a targeted treatment using cotton swabs dipped in 70% alcohol. Remove all visible insects manually, then apply neem oil solution as a systemic treatment. Mix one teaspoon of cold-pressed neem oil with one quart of warm water and one teaspoon of mild soap. Use the product as a soil drench to eliminate root mealybugs and spray it on plants to control pests that live above ground.
Step 2: Execute Controlled Light Acclimation
The second step requires a managed process to decrease light exposure and help the plants adjust to indoor conditions. The standard advice to move plants to shade before bringing them inside needs further consideration for achieving the best results. Start the light reduction process three weeks before you plan to move the plants indoors by following a method that duplicates the natural progression of seasons.
The first week demands moving plants from their present full sun area to a spot which receives bright shaded conditions. The device cuts down light intensity by 50% while preserving the entire spectrum of light. Position plants under deciduous trees or shade cloth that provides 30-50% opacity. The leaf response needs observation to check for normal adjustment which shows as a light color change without significant drooping or yellowing.
The plants transition to deeper shade during week two which produces light that amounts to 25% of full sun intensity. Plants that show signs of stress through pale new growth or leaf drop need longer time to adjust during this stage. The healthcare provider needs to identify these plants to create specific treatment plans for each plant.
The third week starts the actual process of getting the fish used to being in the tank. Begin by moving plants inside for 2-3 hours of direct sunlight during peak daylight hours before placing them in their permanent winter spots. The plants should experience a transition from outdoor to indoor conditions by spending more time inside than outside.
Create artificial lighting protocols for plants destined for low-light areas. LED grow lights need to deliver 2000-3000 lumens per square foot at plant level for foliage plants and 4000-5000 lumens for flowering species.
Position lights 12-18 inches above plant canopies while following manufacturer guidelines to achieve the best results based on plant responses.
Step 3: Optimize Soil Health and Root System Preparation
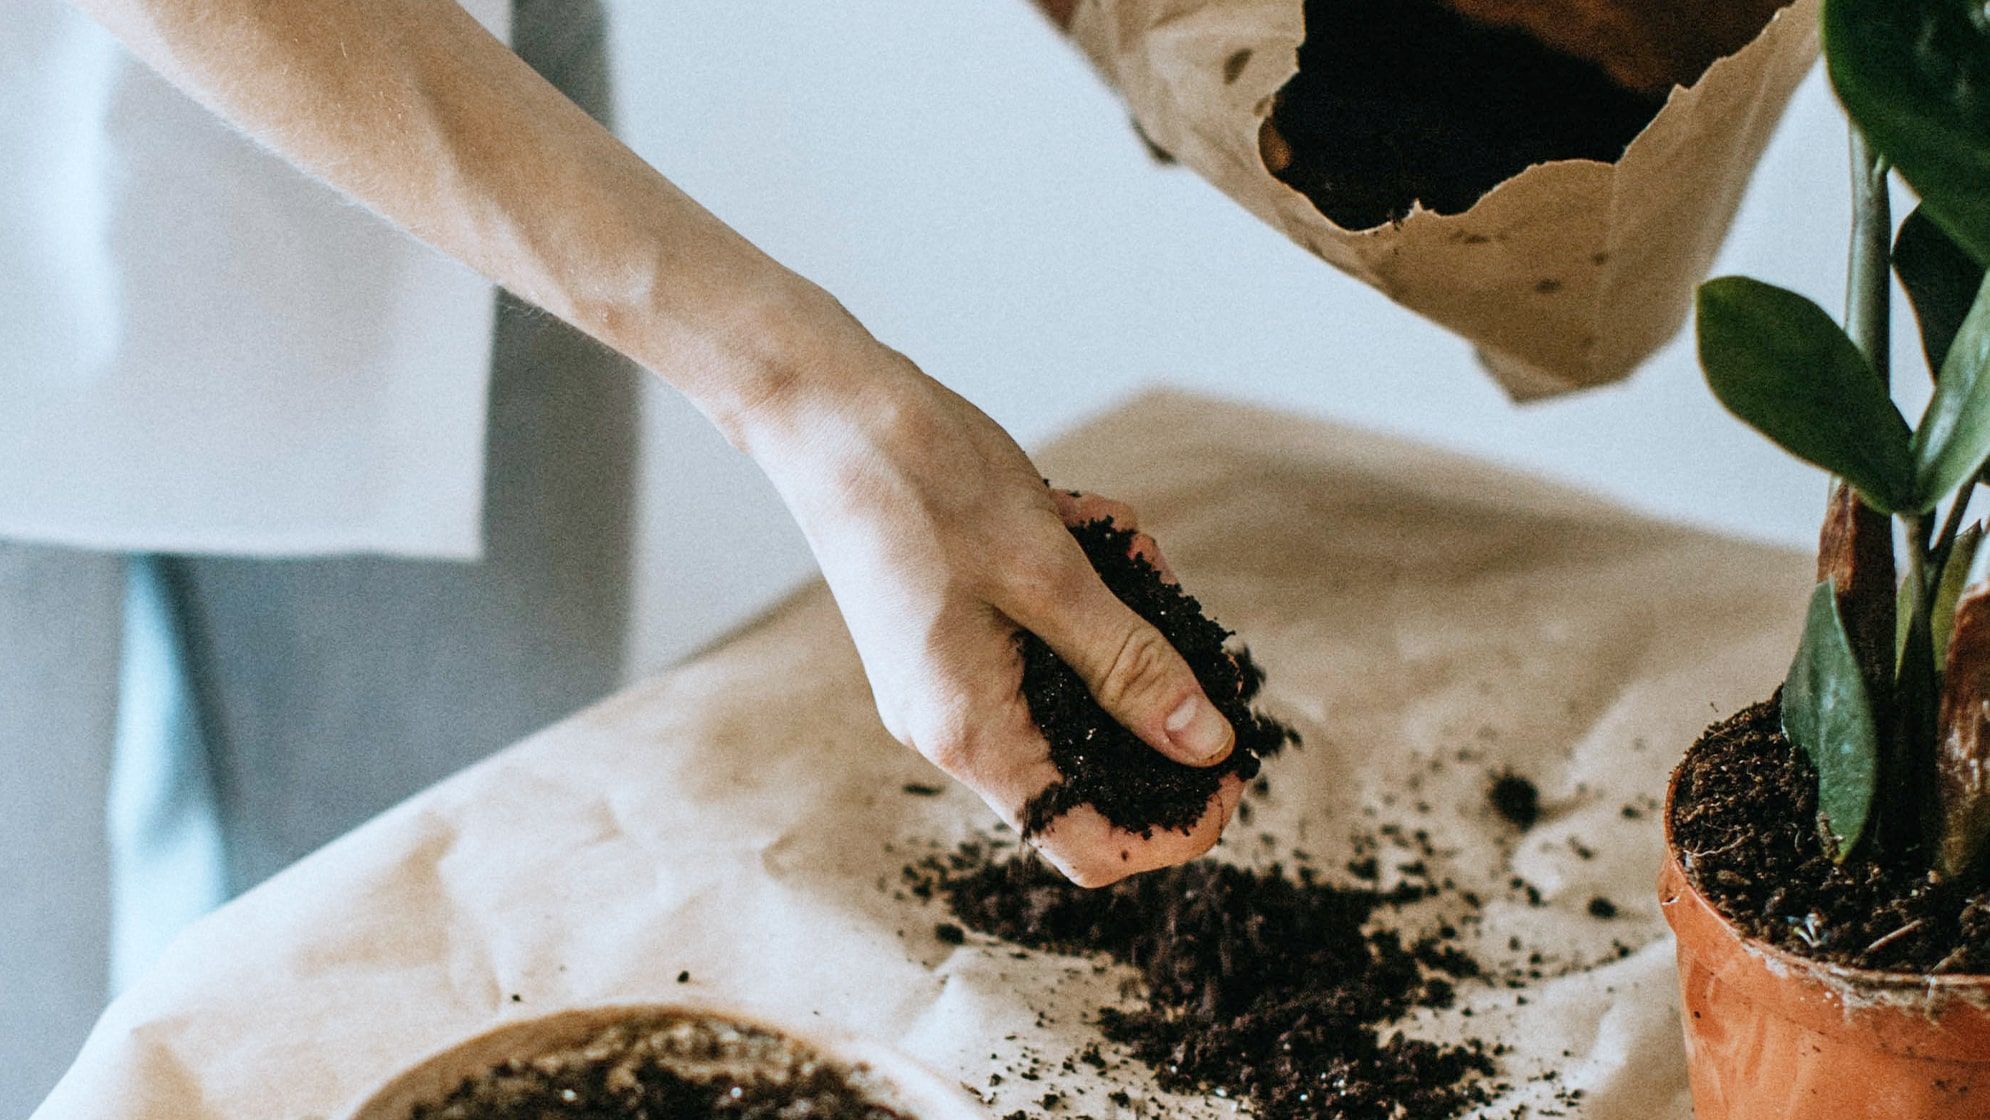
Soil preparation serves as the fundamental base for long-term indoor success but most guides fail to emphasize its importance. The organic materials in outdoor potting mixes break down quickly when kept indoors which leads to root rot because they create spaces without oxygen.
Start the soil assessment process three weeks before you plan to make the transition. Check the top inch of soil in each pot for signs of compaction and salt accumulation and organic matter breakdown. White crusting indicates fertilizer salt accumulation requiring leaching. Soil density that prevents water from entering requires mechanical aeration to enhance soil structure according to Get Busy Gardening.
The existing plants in containers need to undergo a controlled soil renovation process. Use a soil auger or large screwdriver to make vertical channels in the root ball by placing holes 2-3 inches apart that reach 2/3 of the pot depth. Fill the backfill channels with new potting mix that has good drainage properties and matches the needs of your plants. The method enables oxygen and fresh nutrients to enter the soil while safeguarding the roots from harmful disturbances.
The selection of new pots for plants that need complete repotting should be containers which have a diameter that is 1-2 inches bigger than their current pots. The large containers hold too much water which creates root problems. Premium potting soil for indoor use needs a particular mix that contains 20% perlite and 10% horticultural charcoal to enhance drainage and minimize odor emission. Use half the normal amount of slow-release fertilizer since indoor plants need less nutrients because their growth is slower.
Step 4: Master Precise Watering Adjustments
The fourth step requires you to learn how to make precise adjustments to watering. The watering needs of plants undergo major changes when moving indoors yet different plant species require distinct time periods to adapt to their new environment. The watering needs of tropical rainforest plants such as calatheas and marantas demand quick action because they thrive in low humidity environments but succulents and cacti require major water reduction.
Develop a watering schedule that takes into account the origin of your plants and the current state of their soil moisture. Check the soil moisture by inserting your finger 2 inches deep for large pots and 1 inch deep for small containers. Water only when the top portion feels completely dry for most tropical plants, but allow succulents to dry completely through the root zone.
Use the weight method to determine the exact time for watering. Check the weight of pots daily throughout transition week to see how much heavier the soil becomes when it is watered compared to when it is dry. The technique provides the most benefit for ceramic and plastic pots because visual soil assessment becomes impossible with these materials.
The drainage system performance can be evaluated through two key metrics which include the time water takes to absorb and the rate at which water drains away. Soil health needs water to absorb within 30 seconds followed by proper drainage of surplus water that should happen within 2-3 minutes.
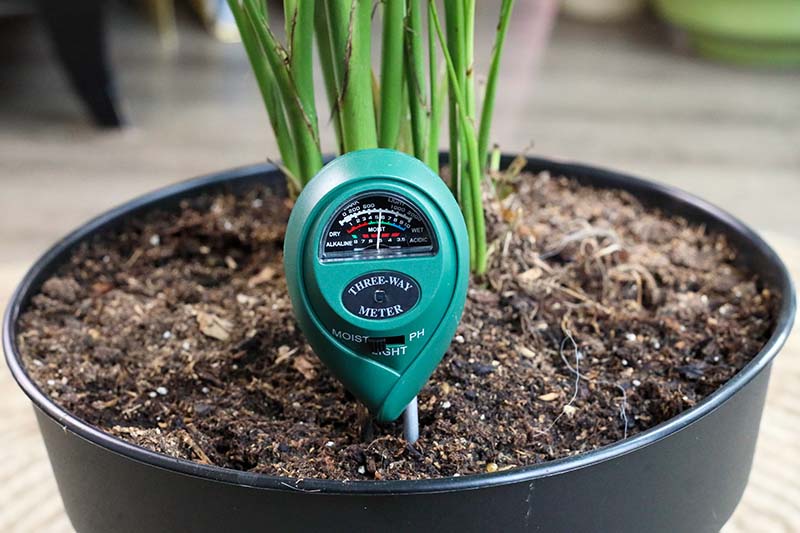
Install moisture meters for high-value plants or those with specific moisture requirements. Digital meters with probes that match pot sizes allow for exact measurements which eliminate the requirement for making educated guesses. Calibrate meters by testing thoroughly wet and completely dry soil samples according to Gardener’s Path.
Step 5: Establish Optimal Indoor Environmental Conditions
The majority of guides provide general information about temperature and humidity but successful plant community transitions need exact environmental conditions that match each plant group. The ideal daytime temperature for tropical foliage plants should be between 70-75°F while nighttime temperatures need to stay above 65°F. The temperature range for succulents extends from 60 to 80 degrees Fahrenheit.
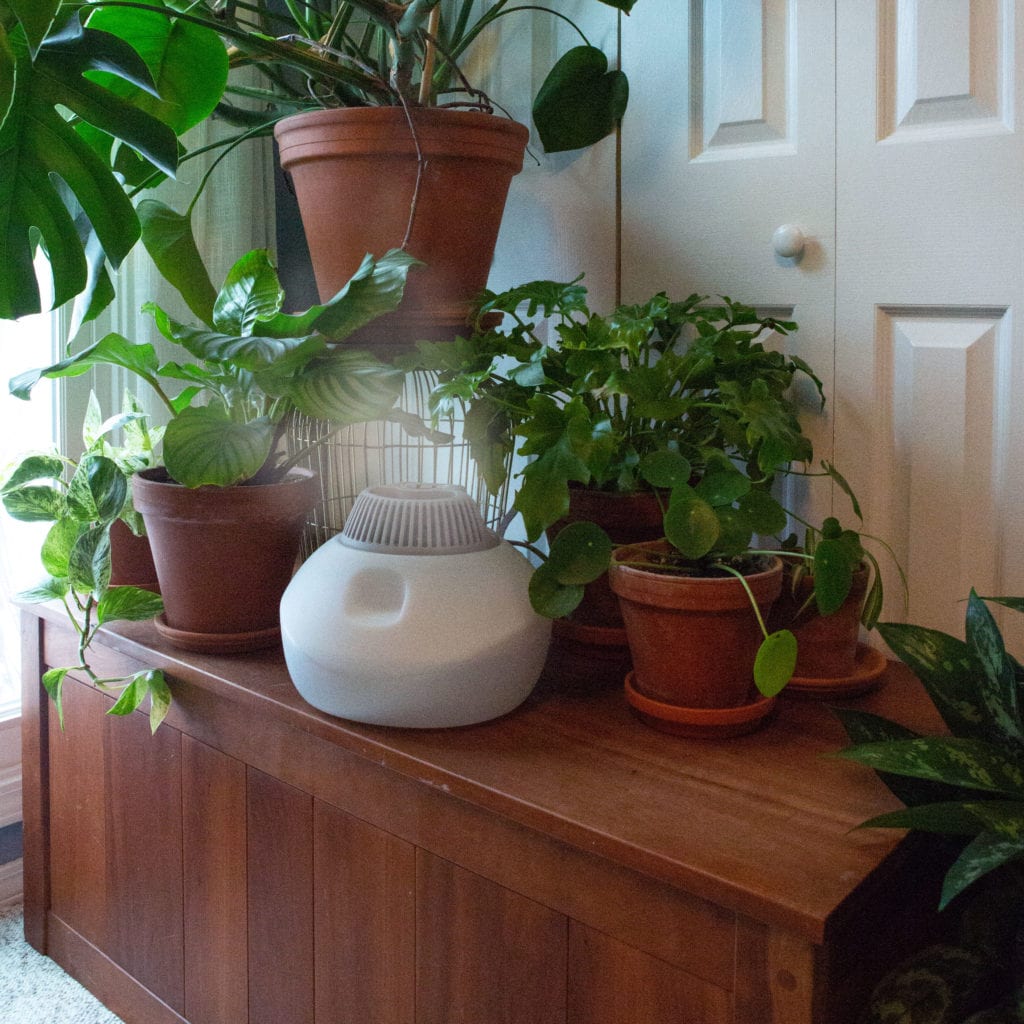
The maintenance of proper humidity levels stands as the most demanding requirement for caring for indoor plants. Standard humidification practices are recommended by most guides but experienced growers select methods that work best for their particular growing area. Group tropical plants together to create microclimates which will keep humidity levels 15-20% higher than normal room conditions. Place the groupings on pebble trays with water but keep the pot bottoms above water to stop root rot.
Digital hygrometers need to be placed near plant clusters to detect the present humidity levels. The humidity needs of tropical plants reach between 50-60% relative humidity yet succulents succeed best at 30-40% relative humidity. Ultrasonic humidifiers should be placed 3-4 feet away from plant clusters to achieve precise control while stopping leaf spot diseases from forming through water droplet accumulation.
The circulation of air functions as a protective measure against fungal diseases which frequently affect interior spaces. Small oscillating fans should be placed on low speed to blow air above the plant leaves instead of directly at them.
The system produces soft air circulation patterns that duplicate outdoor ventilation while stopping the formation of stagnant areas which serve as breeding grounds for pathogens according to Bloomscape.
Step 6: Implement Advanced Lighting Strategies for Long-term Health

The change from outdoor to indoor environments leads to a 70% to 90% decrease in natural light which demands suitable artificial illumination. However, simply adding grow lights fails to address the quality and duration requirements for optimal plant health.
The actual light requirements need to be determined through foot-candle measurements. Tropical foliage plants require 200-400 foot-candles for their maintenance needs but they need 400-800 foot-candles to achieve moderate growth. Flowering plants require 800-1500 foot-candles for bud development. Measure the amount of available light at plant height during the brightest part of the day through light meter applications or specialized light measurement tools.
Choose LED grow lights that deliver full-spectrum output which includes UV and IR wavelengths which standard fixtures do not provide. UV wavelengths help plants develop disease resistance and pigments but IR wavelengths promote plant growth to become more compact. Position fixtures to deliver 14-16 hours of additional light during winter months through timed lighting systems which support photoperiod consistency.
The system should use progressive light intensity increases to stop photobleaching which occurs when light intensity rises too quickly. Start supplemental lighting at 50% of target intensity before you can increase it by 10% each week until you reach the recommended levels. Check the leaves for any signs of damage and decrease the light exposure when you notice pale spots or leaf curl.
Plants need weekly rotation to get equal light exposure which prevents them from developing unbalanced growth. Painter’s tape serves to create marks which help maintain both the correct positions of pots and their scheduled rotation.
The basic method stops the unbalanced growth patterns which occur when plants are kept indoors.
Step 7: Develop Strategic Fertilization and Nutrition Protocols

Most guides offer different fertilizer recommendations that show major variations between outdoor and indoor plant care. The key lies in understanding reduced metabolic rates and altered nutrient uptake patterns in indoor environments.
Stop fertilizing plants three weeks prior to the transition period to let them draw nutrients from their reserves. This prevents salt buildup in soil and encourages natural growth reduction appropriate for lower light conditions. Apply fertilizers to your plants only when they demonstrate established growth which usually happens between 6 to 8 weeks after transitioning them to their new environment.
Choose fertilizers made for indoor plants that have reduced nitrogen content and extra micronutrients. The potting soil of indoor plants needs more magnesium and iron and manganese because microbial activity remains low. The first application needs to use NPK formulations with 3-1-2 ratios at 25% of the recommended concentration according to The Good Earth Garden Center.
The implementation of foliar feeding programs should be done for plants that display signs of nutrient deficiency. The application of water-soluble fertilizer at 10% strength requires a fine mist distribution during the early morning hours. The method enables plants to obtain instant nutrient access because their root systems adapt to work within indoor environments.
The maintenance of suitable pH levels between 6.0 and 7.0 for most tropical plants requires regular monthly soil pH testing using test strips. The use of tap water for indoor watering tends to raise pH levels because tap water contains various minerals.
The process of pH adjustment requires the use of sulfur compounds to lower pH levels or limestone to raise pH levels while making slow applications to prevent sudden changes.
Step 8: Create Long-term Monitoring and Maintenance Systems

The maintenance of successful indoor plants requires more than the first few weeks of adaptation. Monitoring systems need to track plant health indicators and environmental conditions throughout the entire duration of winter.
The monitoring process requires scheduled inspections to check leaves and stems and soil for any emerging small changes. Take photographs of plants at the beginning of transition week to create reference points that will help you compare their development later on. Document the changes in color and growth rates and flowering patterns to detect potential problems early on.
Create environmental tracking sheets to monitor temperature and humidity and light levels at plant locations. The collected data shows patterns which need modification because heating system operation causes humidity to decrease and temperature variations occur near windows.
The same sticky cards used for transition monitoring should be used for pest monitoring. Check for trapped insects monthly by replacing cards and inspecting the captured insects to detect any emerging issues. Early detection prevents the explosive population growth common in indoor environments where natural predators are absent according to Epic Gardening.
Create propagation programs for your most treasured plants to establish backup plants that will serve as insurance during any transition challenges. The ideal time to take stem cuttings occurs during late summer months when plants stay outside and continue their active growth.
Root cuttings need to be placed in suitable growing media while being stored apart from the main collection.
Step 9: Master Emergency Protocols for Common Transition Problems
The execution of transition plans encounters unforeseen obstacles which require immediate resolution. Develop response protocols for the most common issues to prevent minor problems from becoming plant losses.
The first month of plant growth shows yellow leaves because of excessive watering or light exposure. Reduce watering of all plants by half and enhance air movement in the area where the plants show symptoms. Remove all severely yellowed leaves because they create conditions for fungal diseases to develop.
Leaf drop happens when plants face sudden environmental changes despite their ability to adapt through a process of gradual change. The regular maintenance schedule should continue but fertilizer application needs to be postponed until new growth becomes visible. The area requires additional light sources to support the development of new plant foliage.
Pest resurgence during winter months requires aggressive treatment due to favorable indoor conditions. The affected plants need to be separated right away while using alternating products for weekly treatments to stop the growth of resistant strains.
The treatment process should continue for three weeks after all visible pests have been eliminated to guarantee complete pest removal.
The appearance of root rot symptoms requires immediate response because they include wilting plants in wet soil and bad smells and blackened stem bases. Remove plants from containers and cut away the diseased roots before placing them in new well-draining fresh soil. Reduce watering frequency and increase air circulation to prevent recurrence.
Advanced Strategies for Specific Plant Categories
The transition process for different plant groups needs specific methods which go beyond standard procedures. The knowledge of these differences leads to a significant improvement in success rates.
Succulents and Cacti need short periods of 40°F temperatures to enter their dormant state. The plants need two weeks of extra time to transition after tropical plants since the soil needs to dry completely between waterings. The process of etiolation prevention requires a four-week gradual reduction of light exposure instead of the standard three-week period.
Orchids need both good air circulation and humidity management because they exist as epiphytes. Small fans need to be positioned near orchid displays to establish continuous soft air movement. Water with reverse osmosis or distilled water to prevent mineral accumulation on aerial roots.
Ficus Species are known to shed their leaves when they experience changes in their environment because they are very sensitive to these changes. The process of light reduction should start four weeks earlier than other plants to achieve a smooth transition. The plant should stay in the same position after entering the house because any movement will cause more leaves to fall off.
Large specimens of Palms and Tropical Trees present the most difficult challenge because of their extensive size and demanding light needs. The installation of specific grow lights needs to occur before transition while running tests for multiple weeks to verify proper coverage.
Use clear plastic sheeting to build humidity tents during the first month of indoor growth while you should expand ventilation holes as plants become accustomed to the environment according to To Be Bright.
Propagation Opportunities During Transition
The transition period creates ideal conditions for plant development through various plant propagation techniques. Make the most of the current active growth period and beneficial outdoor climate before plants start their winter sleep.
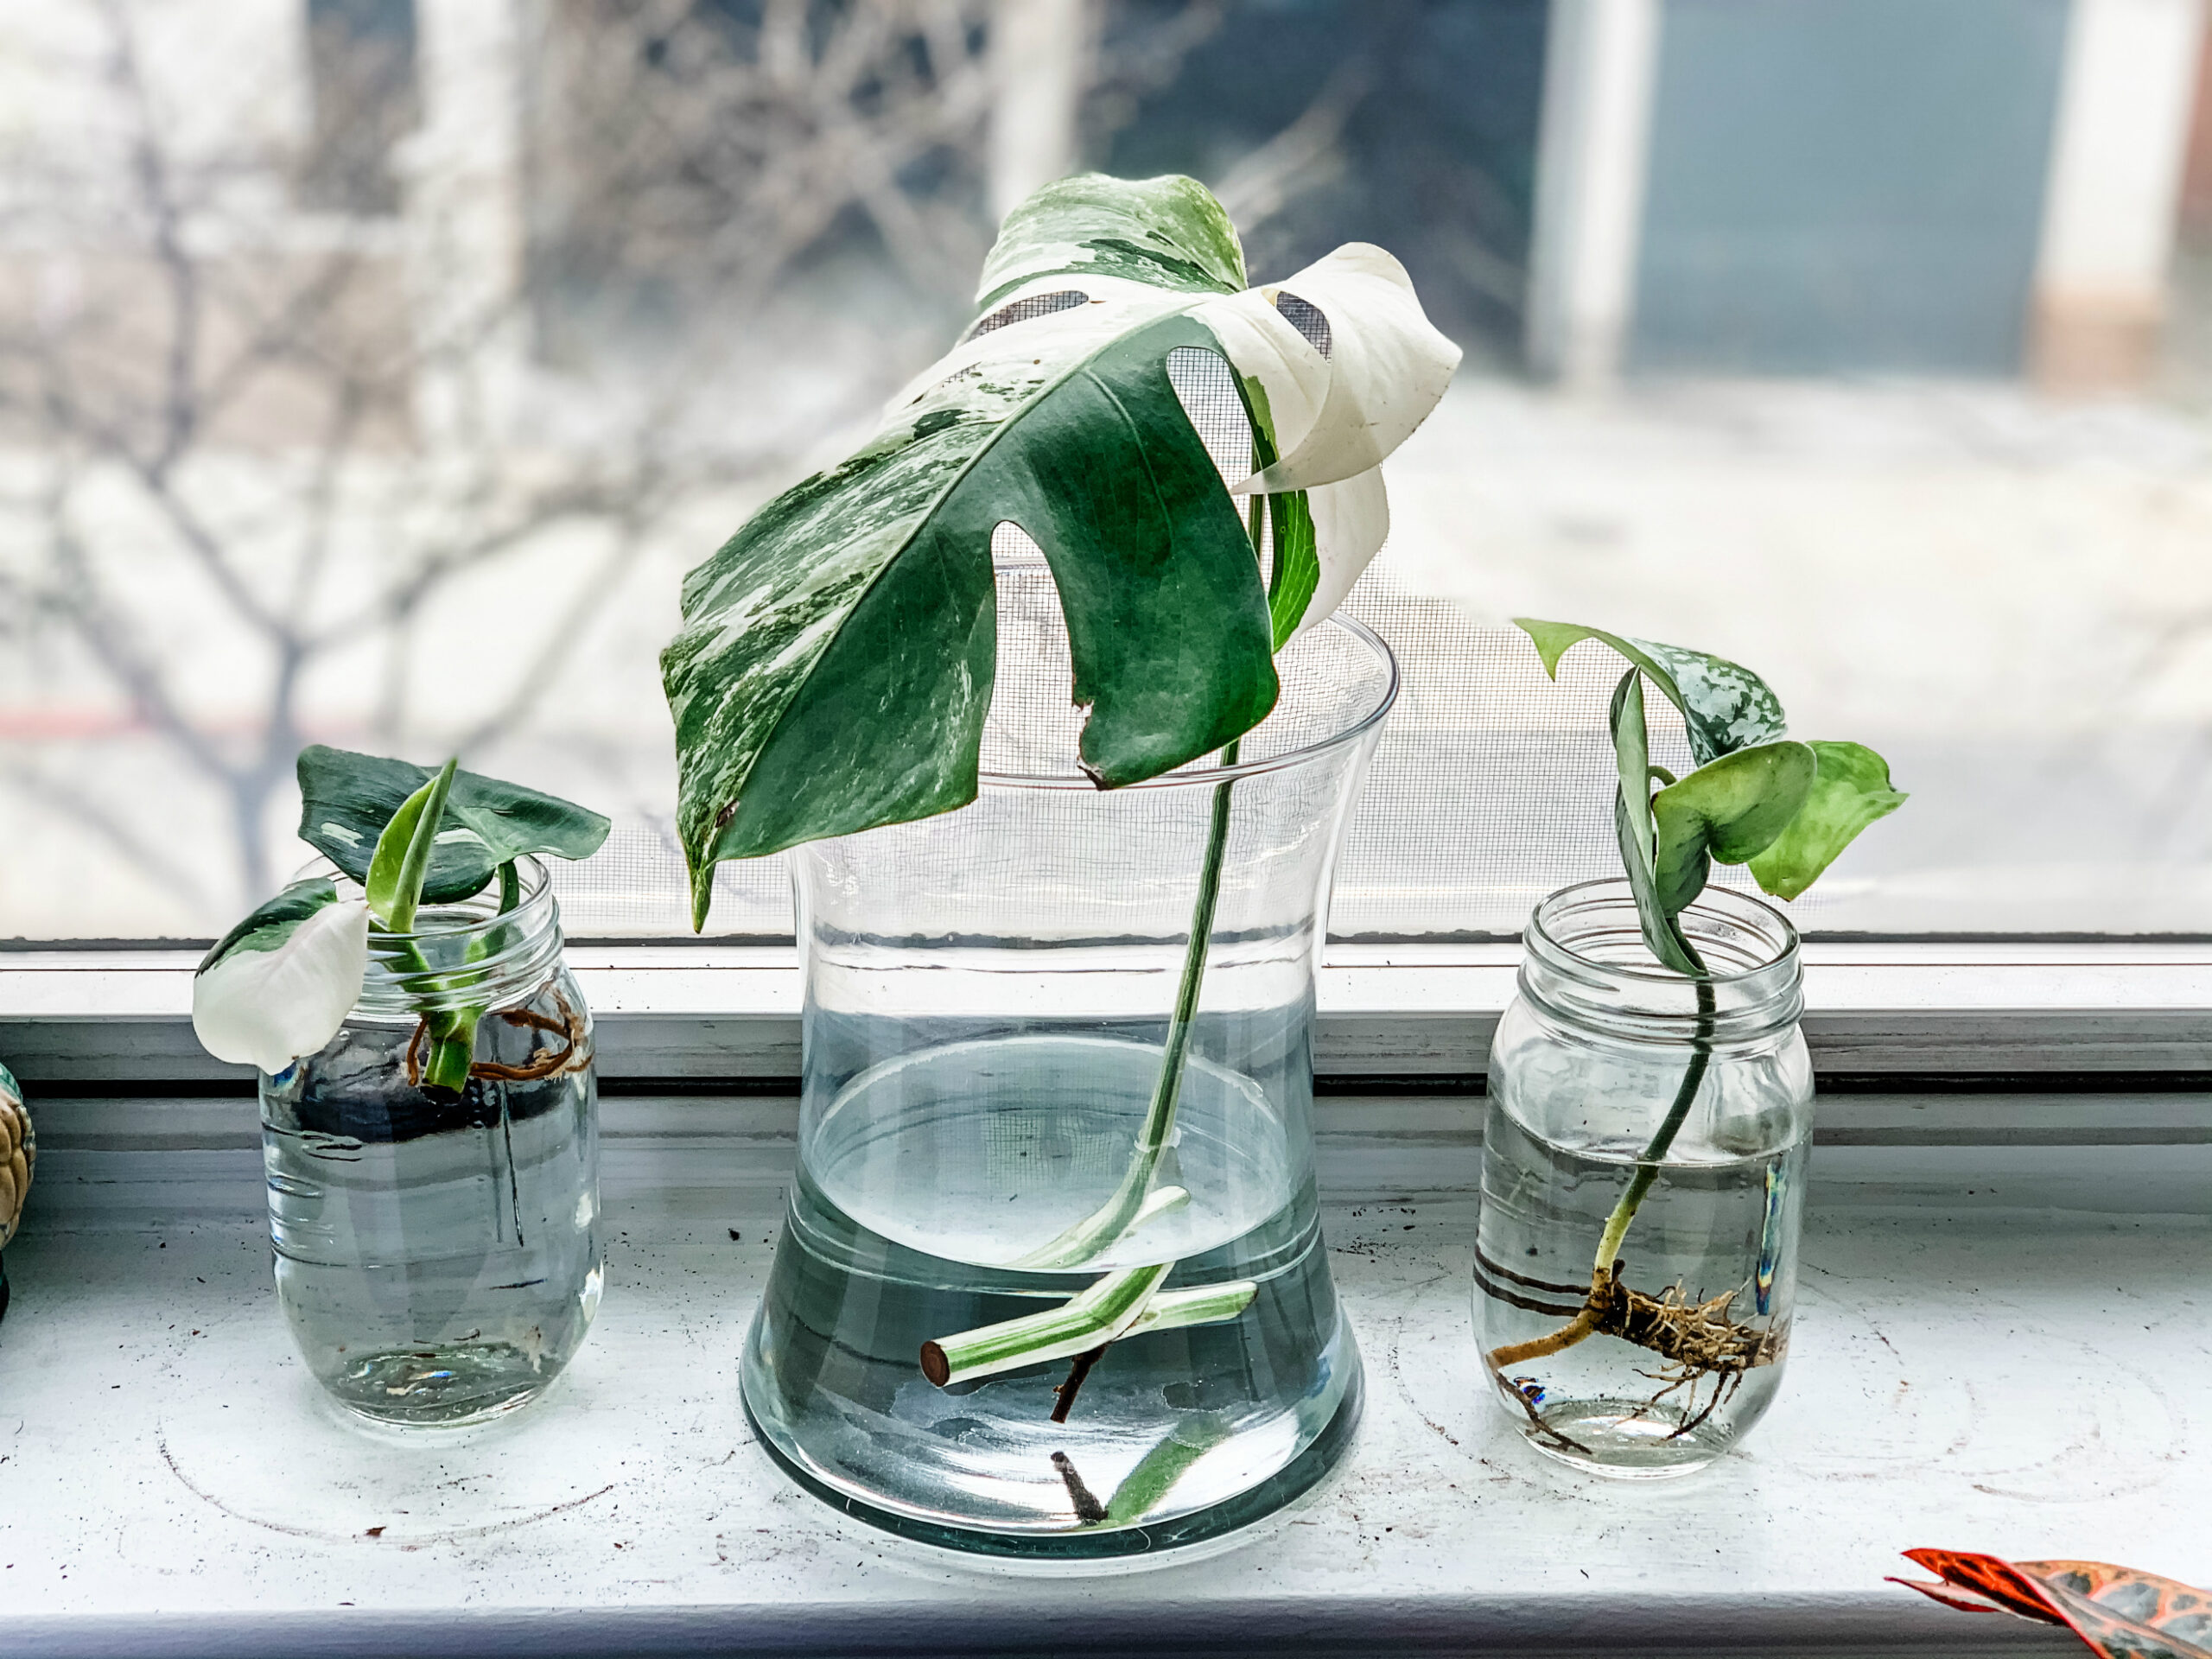
Stem cuttings from woody plants like fiddle leaf figs and rubber trees root most successfully when taken during the acclimation period. Choose semi-hardwood sections which can bend without snapping while showing their green tissue color. Apply rooting hormone to the plant material before placing it in perlite or vermiculite under conditions of high humidity.
The best time to divide plants occurs when peace lilies and snake plants reach the point where their containers no longer fit them. The division process needs to happen at the time of repotting to ensure each section gets enough roots and foliage for independent growth.
The process of air layering allows growers to create new plants from mature trees by taking cuttings without needing to remove substantial sections of the parent plant. The technique works best for rubber trees and dieffenbachia plants because it creates self-supporting sections which develop into separate plants after rooting.
Creating Your Personal Transition Calendar
The successful implementation of these techniques requires following a structured plan which includes a predetermined timeline. A calendar-based system should be established to prevent important tasks from being overlooked during the hectic fall months.
The first step for sensitive plants should start eight weeks before the first frost date while gardeners should begin their propagation work and check their soil for any renovation needs.
The first frost date marks the beginning of a six-week period when pest detection programs should start and fertilization reduction should begin and baseline photographs and measurements need to be established.
The acclimation process for ficus and other sensitive species needs to start four weeks before the first frost to test grow lights and establish indoor environmental control systems.
Two weeks before first frost: All major repotting work should be finished at this time while pest control treatments need to be completed and tropical plants need to be moved inside.
The last week before the first frost requires total plant transition except for the most resilient species and complete lighting and humidity setup and start monitoring operations.
The process of moving plants from outdoor abundance to indoor cultivation involves much more than just moving them to a different location. Learning these advanced methods will enable your plants to survive winter months while actively growing and developing which will result in vigorous growth when they return outside in spring according to Westlake Ace Hardware.
Sources and Further Reading:
- Iowa State University Extension: Moving Indoor Plants Outside for Summer
- Get Busy Gardening: DIY Houseplant Potting Soil
- Gardener’s Path: How to Use a Soil Moisture Meter
- Bloomscape: How to Increase Humidity for Houseplants
- The Good Earth Garden Center: Feeding Your Houseplants
- Epic Gardening: Common Houseplant Diseases
- To Be Bright: Beginner’s Guide to Plant Propagation